Book Picture Drawing
Book Picture Drawing - Draw a line from the bottom of the page, up to the top of the page, outlining the spine or binding. The center of the “m” will meet the book’s spine. Draw a square from extending the lines from the vertices. You will now create the open page shape. Web add a curved inside like on the open part of your us. On the top line of your rectangle, you will create an “m” type shape. Then, draw two straight, parallel lines across the cover of the book, in the area that the title would be printed. Imagine this rectangle as a flat shape. Add the detail of curves to resemble like an open book. Use two more curved lines to fully enclose the page. Web draw diagonal lines from the bottom vertices to the upper midpoint. Trace with a pen and erase unnecessary lines. Draw a square from extending the lines from the vertices. On your additional piece of paper, draw a rectangle. Draw a line from the bottom of the page, up to the top of the page, outlining the spine or binding. Next, add a line for the back of the book that is parallel to the front cover. You’ll be able to see how the rectangular shape changes as you move it closer to your eyes. So save yourself some pencil lead and draw just those two lines. Unlock ad free and printable drawing and coloring tutorials. Then, draw two straight,. So save yourself some pencil lead and draw just those two lines. Web book drawing for beginners. Margherita cole | my modern met. Web follow this easy tutorial to draw a book in a few steps. Draw partial straight lines in the edges to indicate collected pages. Web book drawing for beginners. You will learn the techniques and tips to create your own book illustration. Next, create the spine of the book by adding another arch and connecting it to a line that is parallel to the long side of the rectangle you drew. Then draw another one up and to the left of the first one.. Then draw another one up and to the left of the first one. Draw partial straight lines in the edges to indicate collected pages. This line will also curve and continue into an adjacent line. We will need only a top and left side from that one, as the rest will be hidden. Web draw diagonal lines from the bottom. So save yourself some pencil lead and draw just those two lines. Connect your spines with small curved lines and add a straight line to close your book cover. As the image details, each end of the “m” shape will sweep and extend towards the book’s outer edges. Draw partial straight lines in the edges to indicate collected pages. Add. So save yourself some pencil lead and draw just those two lines. As the image details, each end of the “m” shape will sweep and extend towards the book’s outer edges. This line will also curve and continue into an adjacent line. Connect your spines with small curved lines and add a straight line to close your book cover. Web. You will learn the techniques and tips to create your own book illustration. The center of the “m” will meet the book’s spine. Then, let the line continue to form the top of the next page. Connect your spines with small curved lines and add a straight line to close your book cover. Take your paper to your eye level. This line will also curve and continue into an adjacent line. Web draw diagonal lines from the bottom vertices to the upper midpoint. Shaping the upper curve of the book’s pages. Trace with a pen and erase unnecessary lines. Imagine this rectangle as a flat shape. Draw a line from the bottom of the page, up to the top of the page, outlining the spine or binding. Use two more curved lines to fully enclose the page. Web add a curved inside like on the open part of your us. Take your paper to your eye level and tilt it backward a little. On the top. Draw parallel lines coming from the curves of the us and one from the top. Take your paper to your eye level and tilt it backward a little. Then, draw two straight, parallel lines across the cover of the book, in the area that the title would be printed. Then draw another one up and to the left of the first one. We will need only a top and left side from that one, as the rest will be hidden. Add the spine, remembering to add a slight curve at both the top and bottom of the spine. Web add a curved inside like on the open part of your us. Add the detail of curves to resemble like an open book. Using two straight lines, draw a backwards letter l parallel to the bottom and edge of the cover. Shaping the upper curve of the book’s pages. Draw partial straight lines in the edges to indicate collected pages. Connect your spines with small curved lines and add a straight line to close your book cover. You will now create the open page shape. Draw another straight line along the spine, from the top of the cover to the l shaped line. Draw a line from the bottom of the page, up to the top of the page, outlining the spine or binding. Web book drawing for beginners.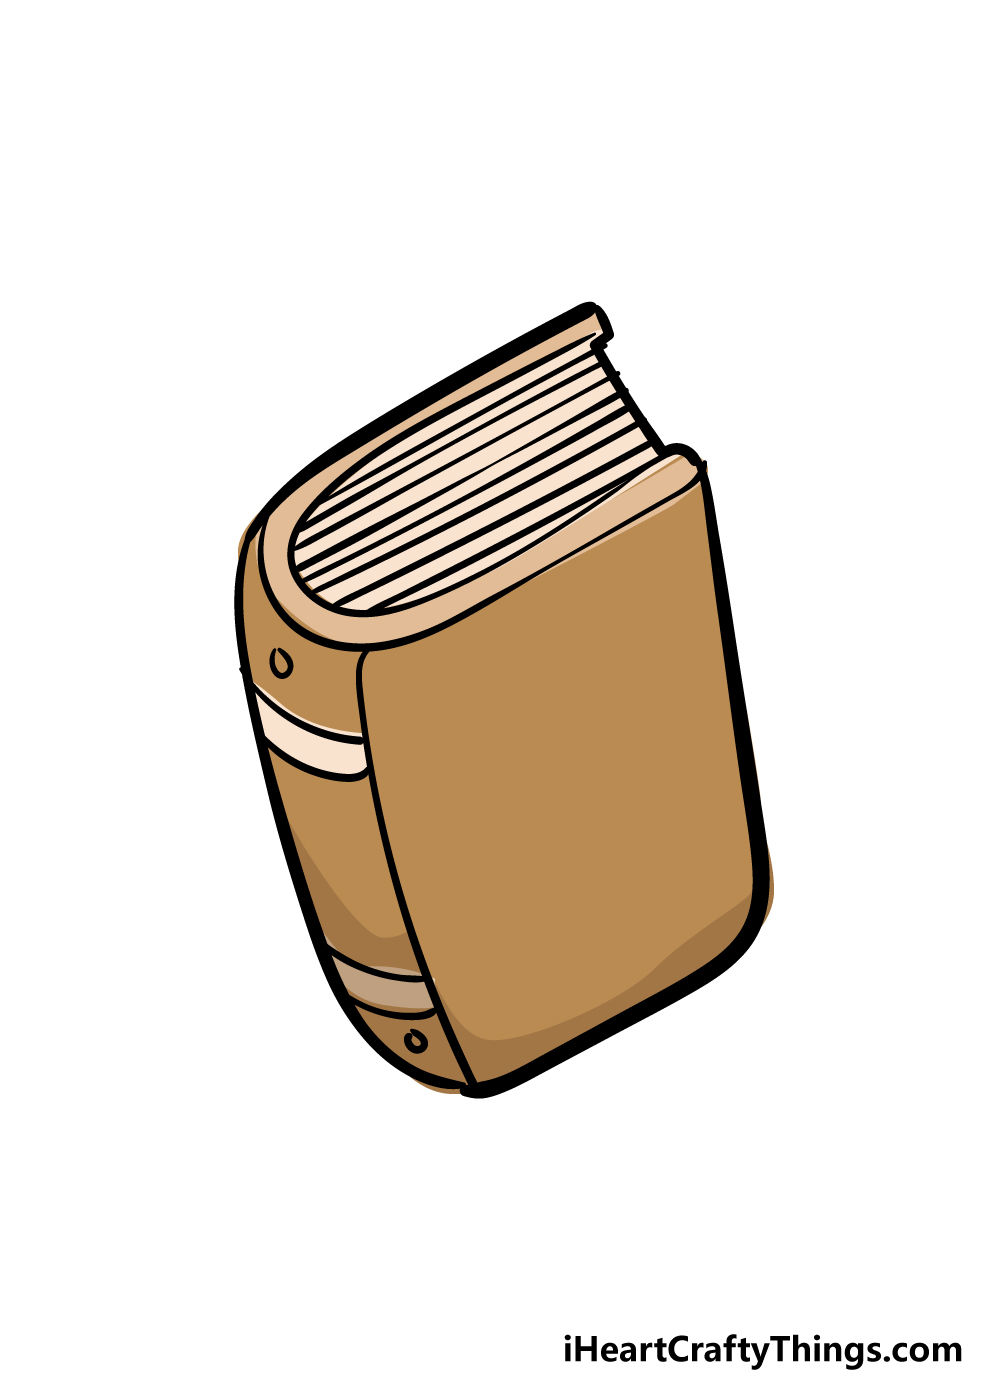
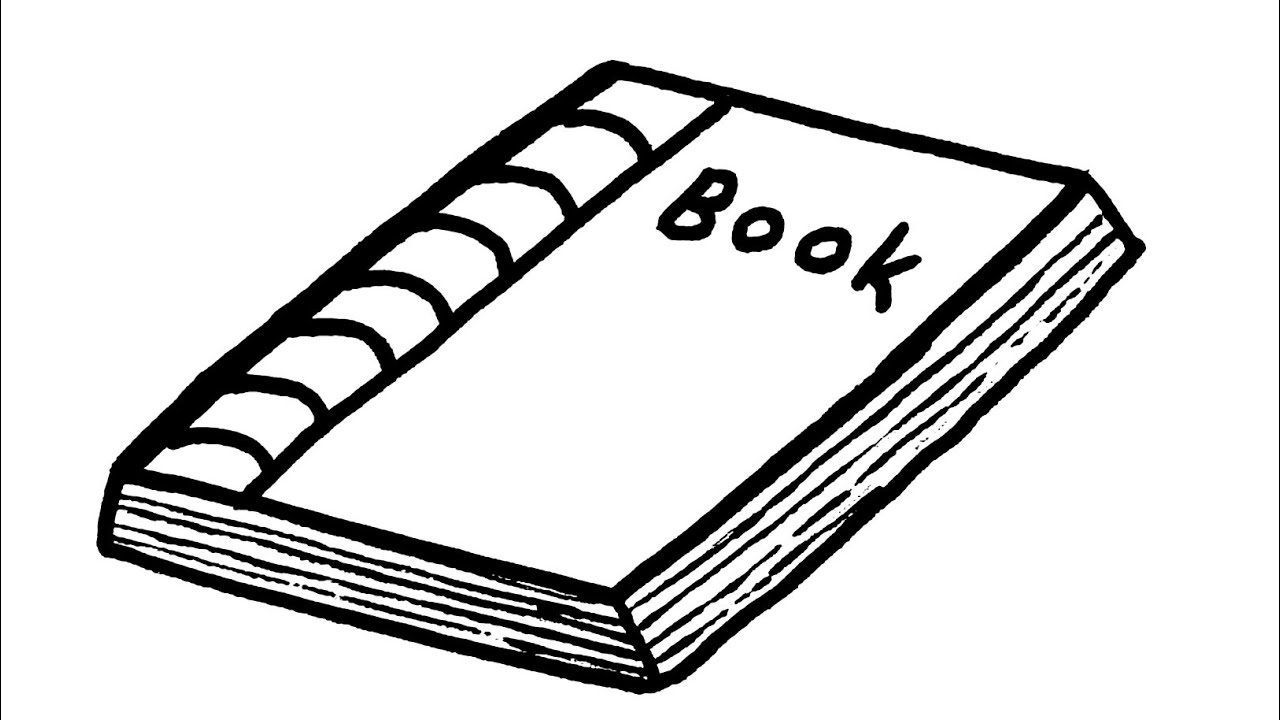
Book Drawing How To Draw A Book Step By Step
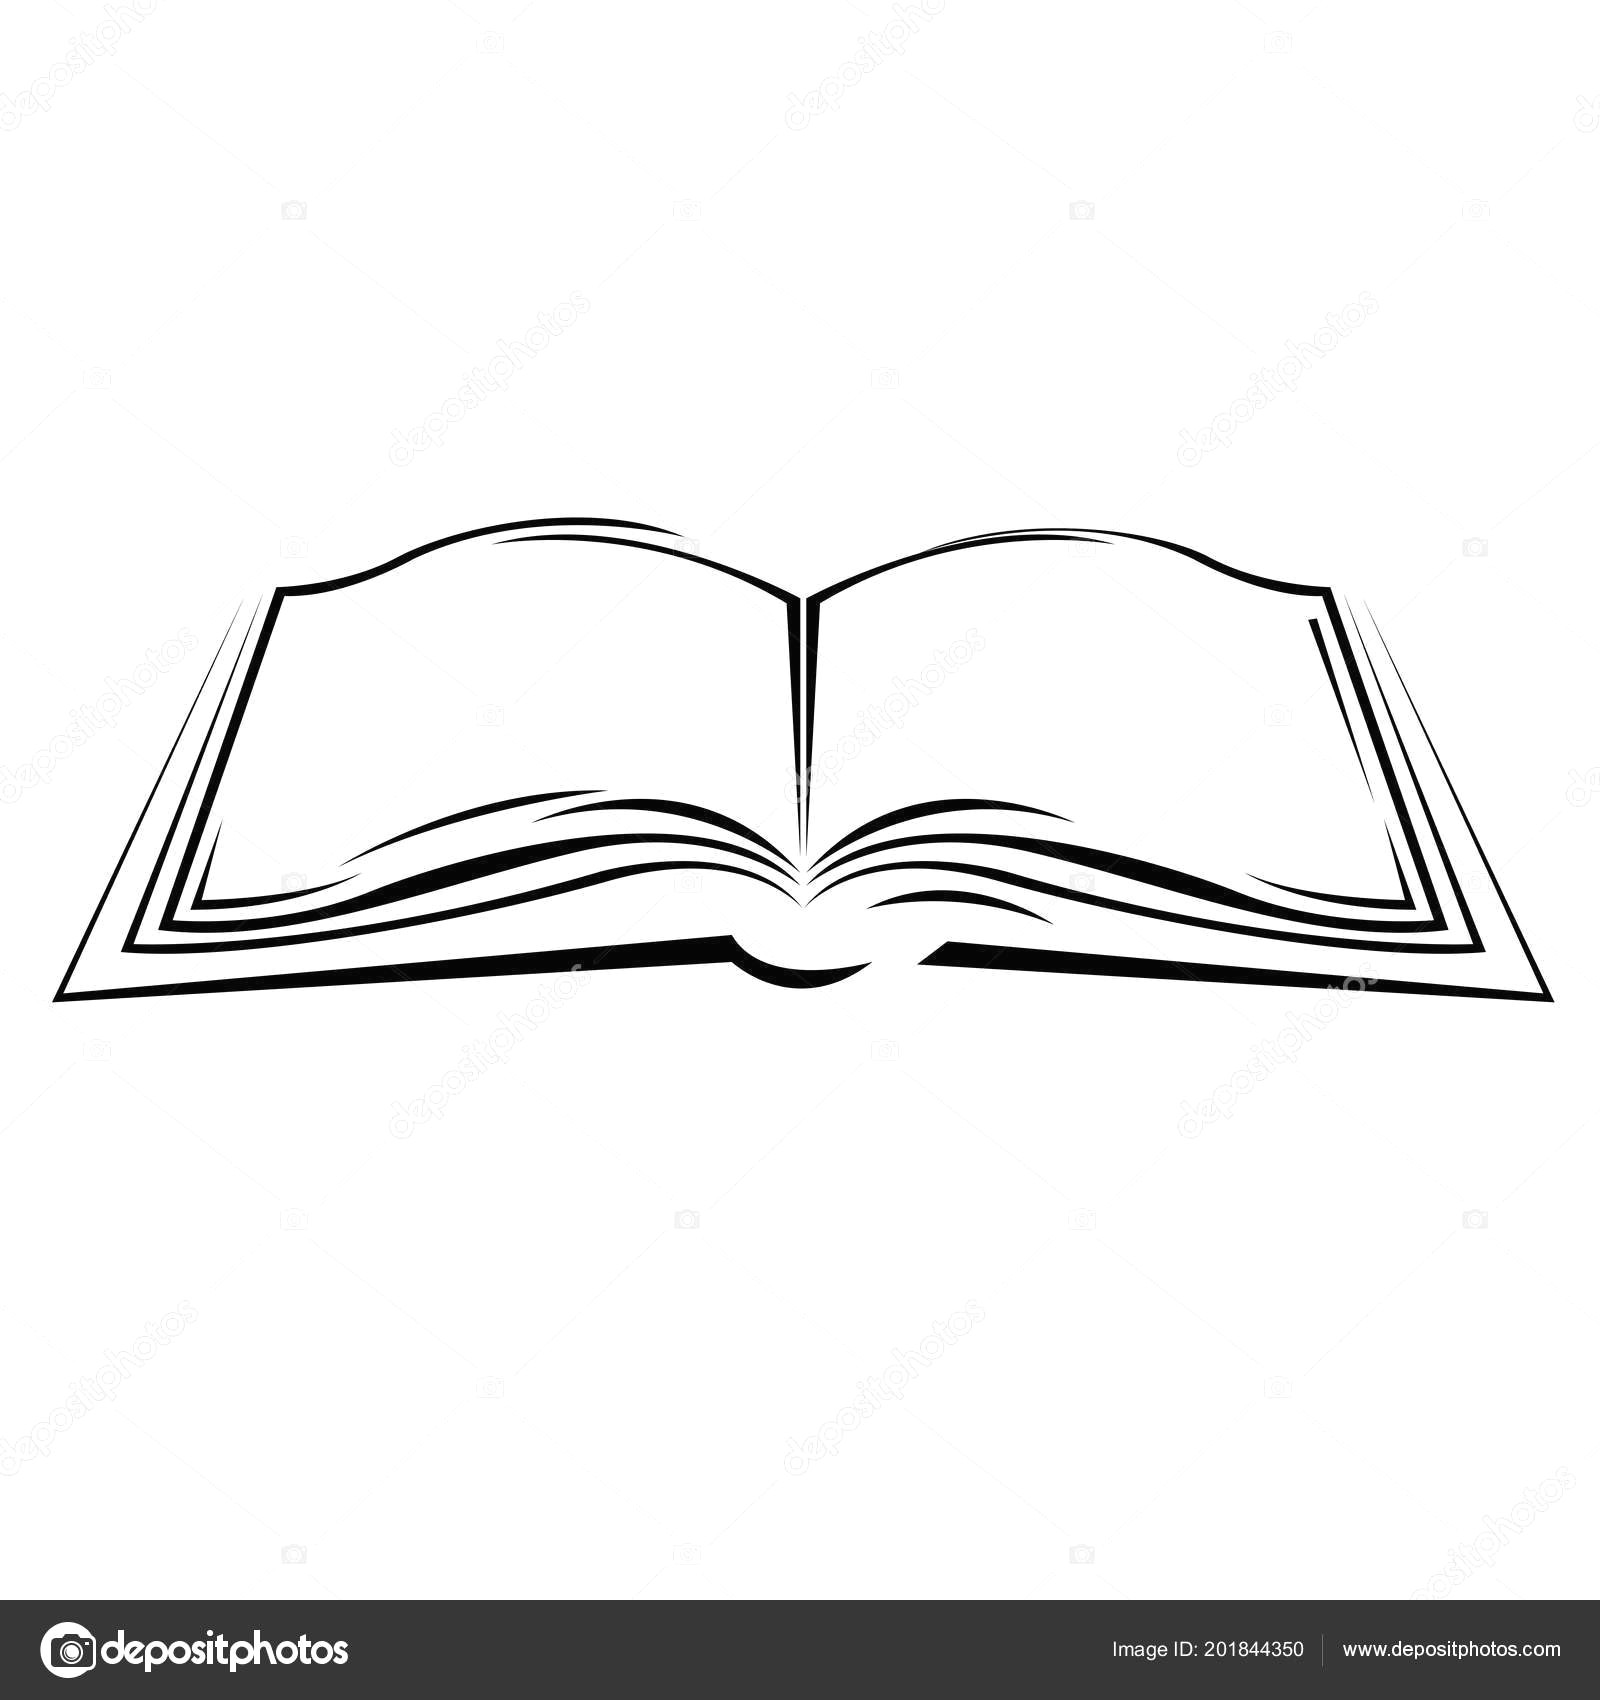
How To Draw An Open Book Step By Step Easy

Book Pencil Drawing Images bestpencildrawing
How to draw a book step by step book drawing very easy YouTube
Creative Hand Drawn Education Books Sketch 1249077 Vector Art at Vecteezy

How to Draw a Book 13 Steps (with Pictures) wikiHow
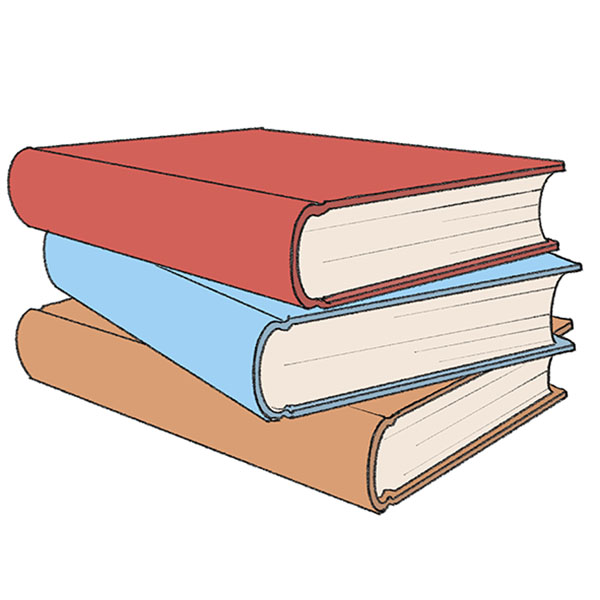
How to Draw Stacked Books Easy Drawing Tutorial For Kids
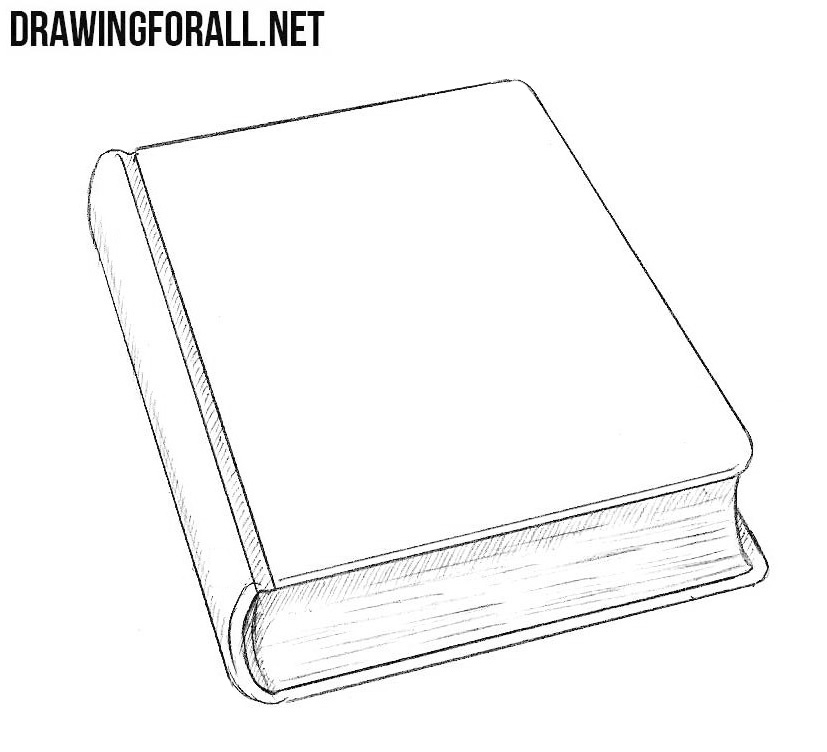
How to Draw a Closed Book

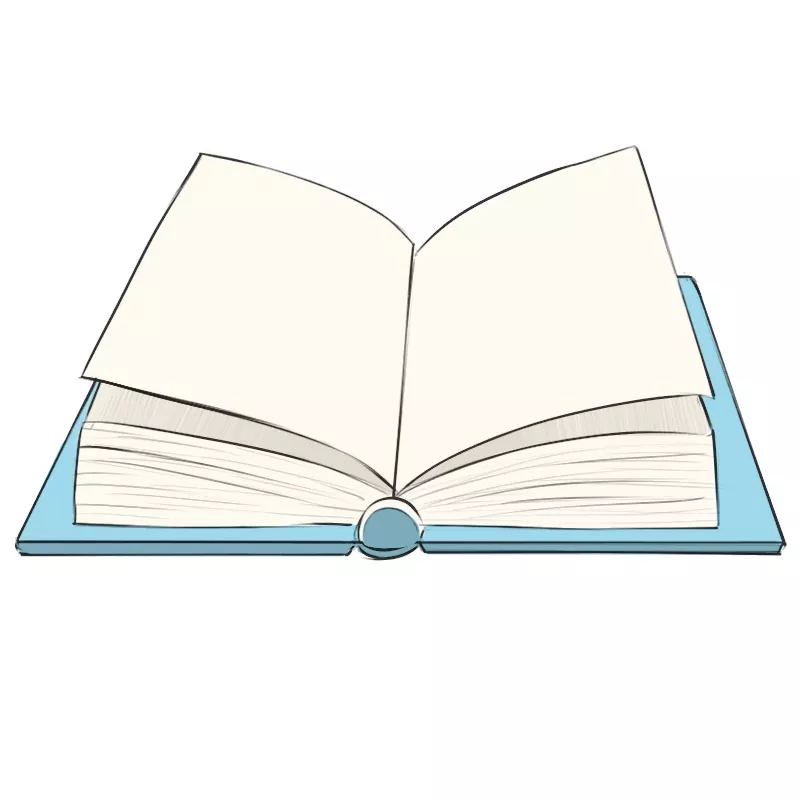
How to Draw an Open Book Really Easy Drawing Tutorial
How to Draw a Book Easy Drawing Art
Next, Add A Line For The Back Of The Book That Is Parallel To The Front Cover.
Add A Few Curved Lines Along The Spine Of The Book For Detail.
Trace With A Pen And Erase Unnecessary Lines.
You Will Learn The Techniques And Tips To Create Your Own Book Illustration.
Related Post: