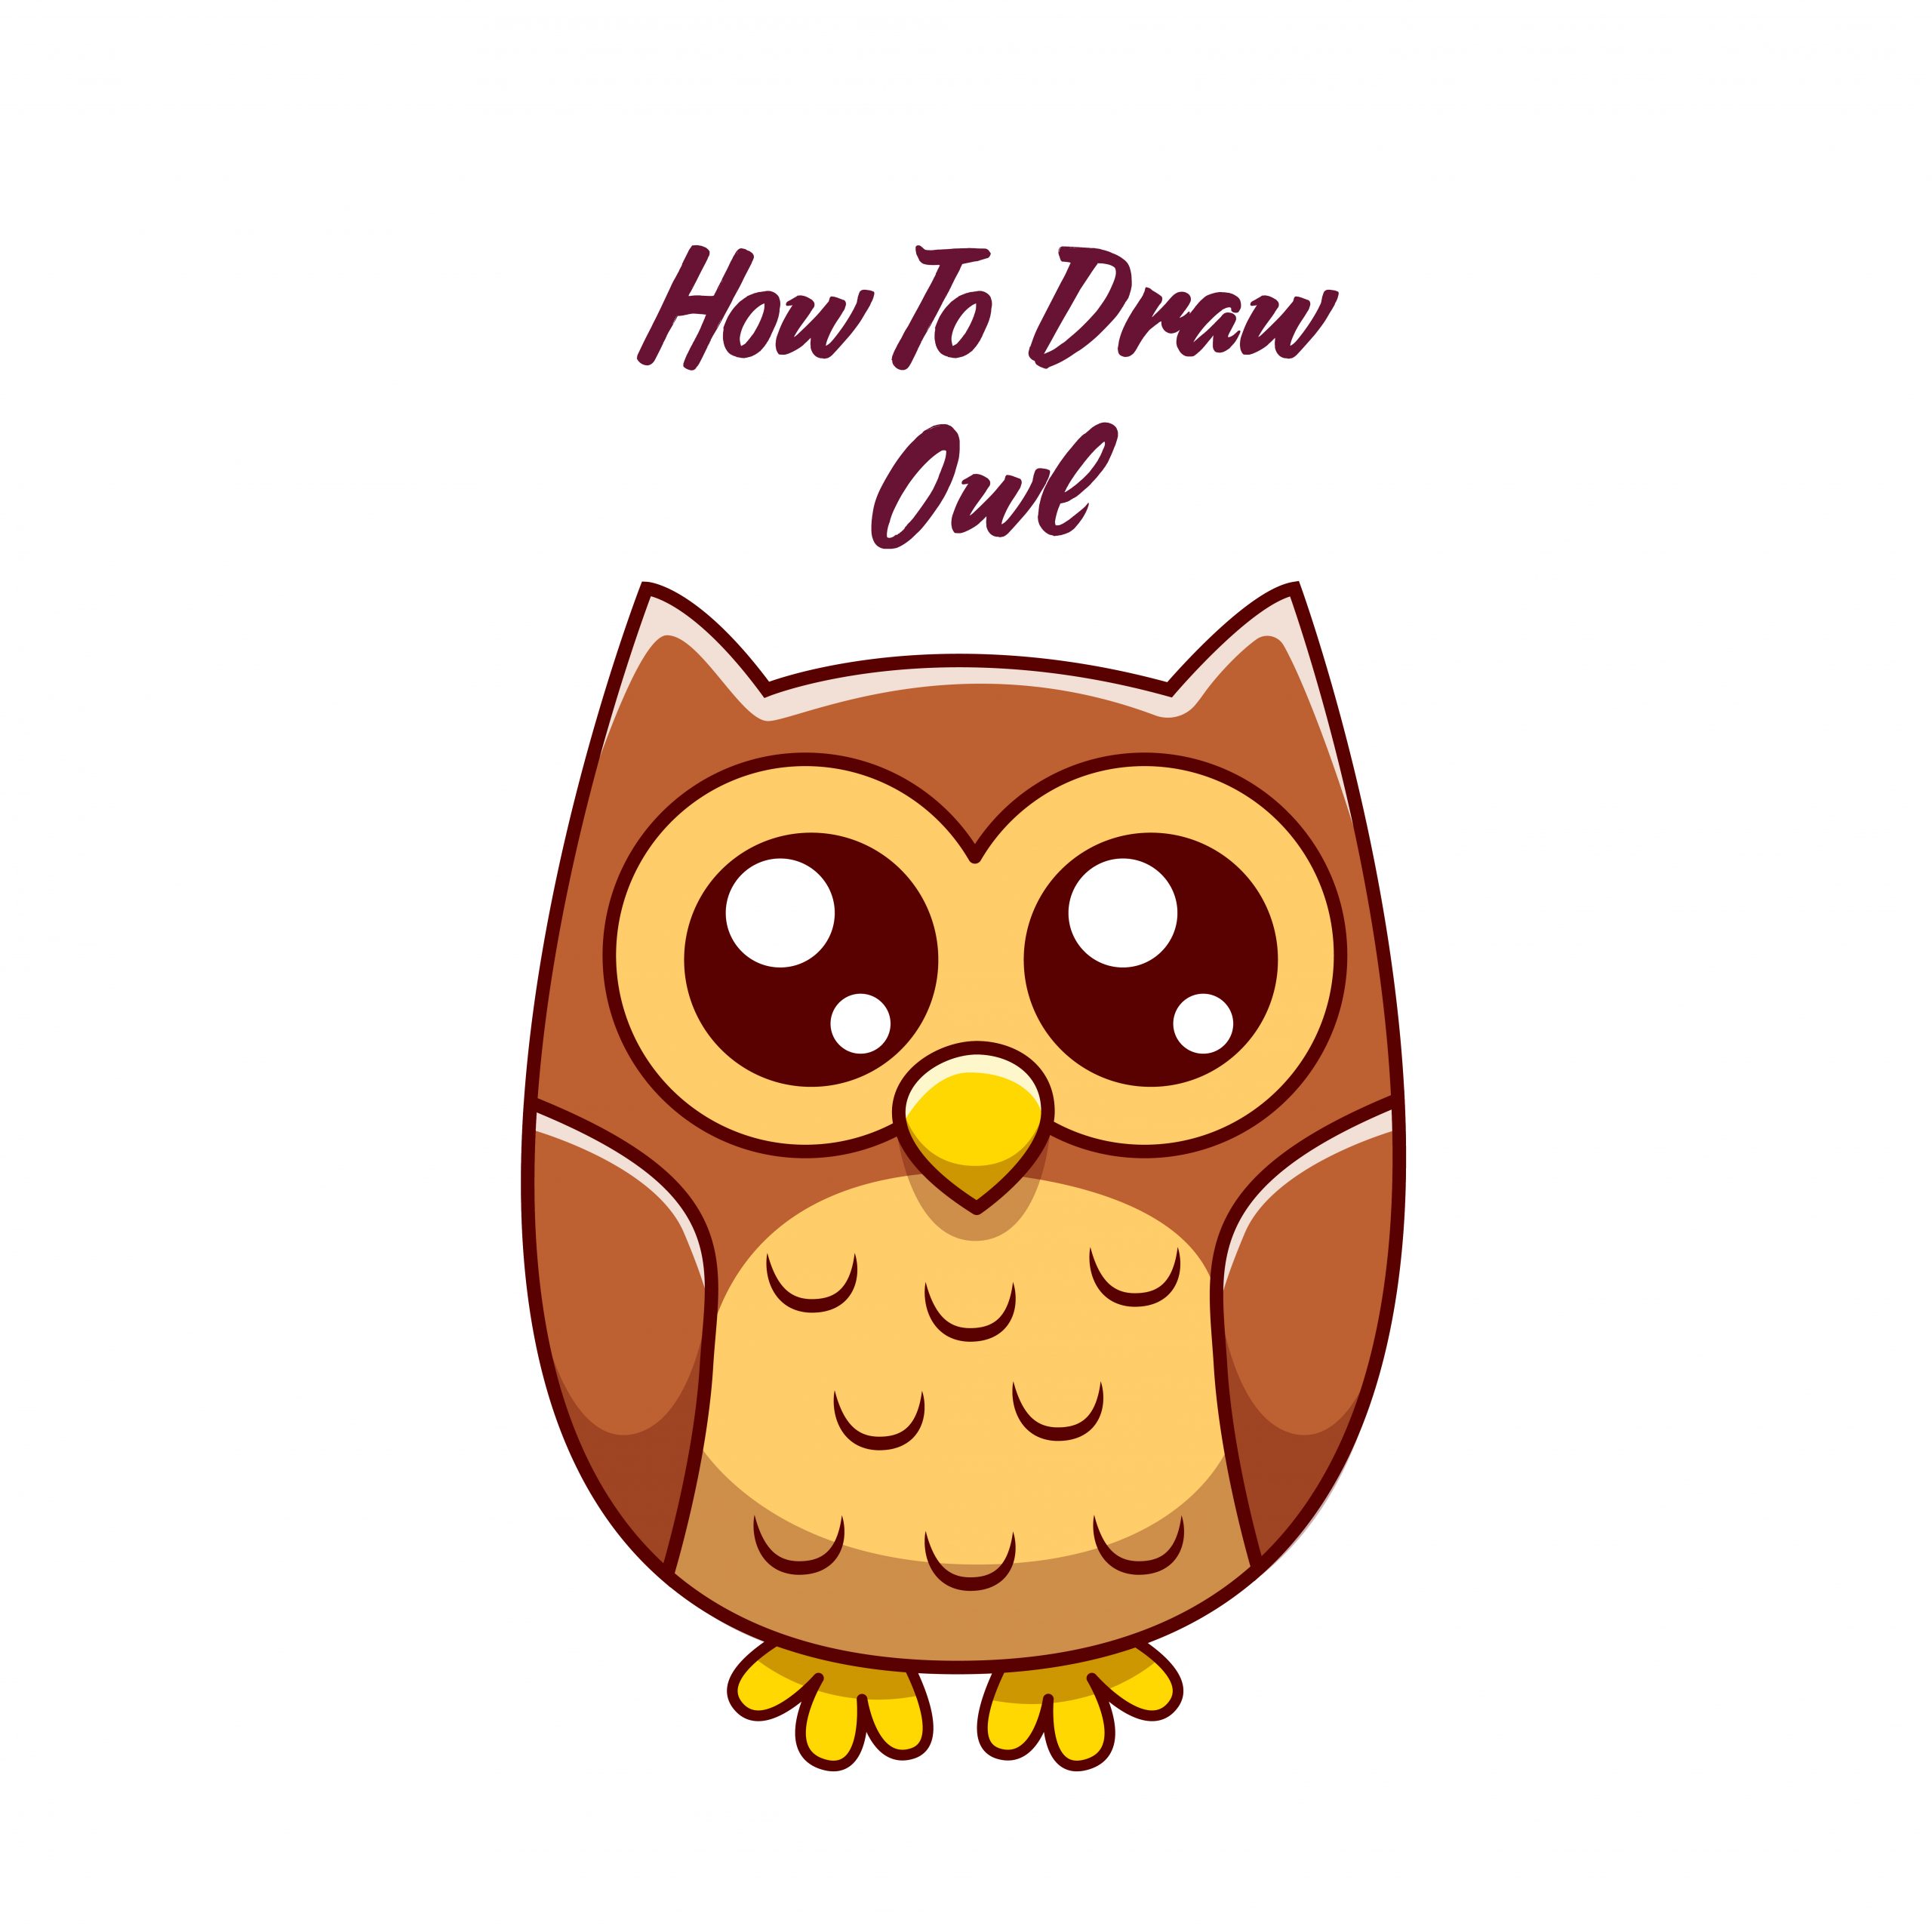
Draw An Owl Easy
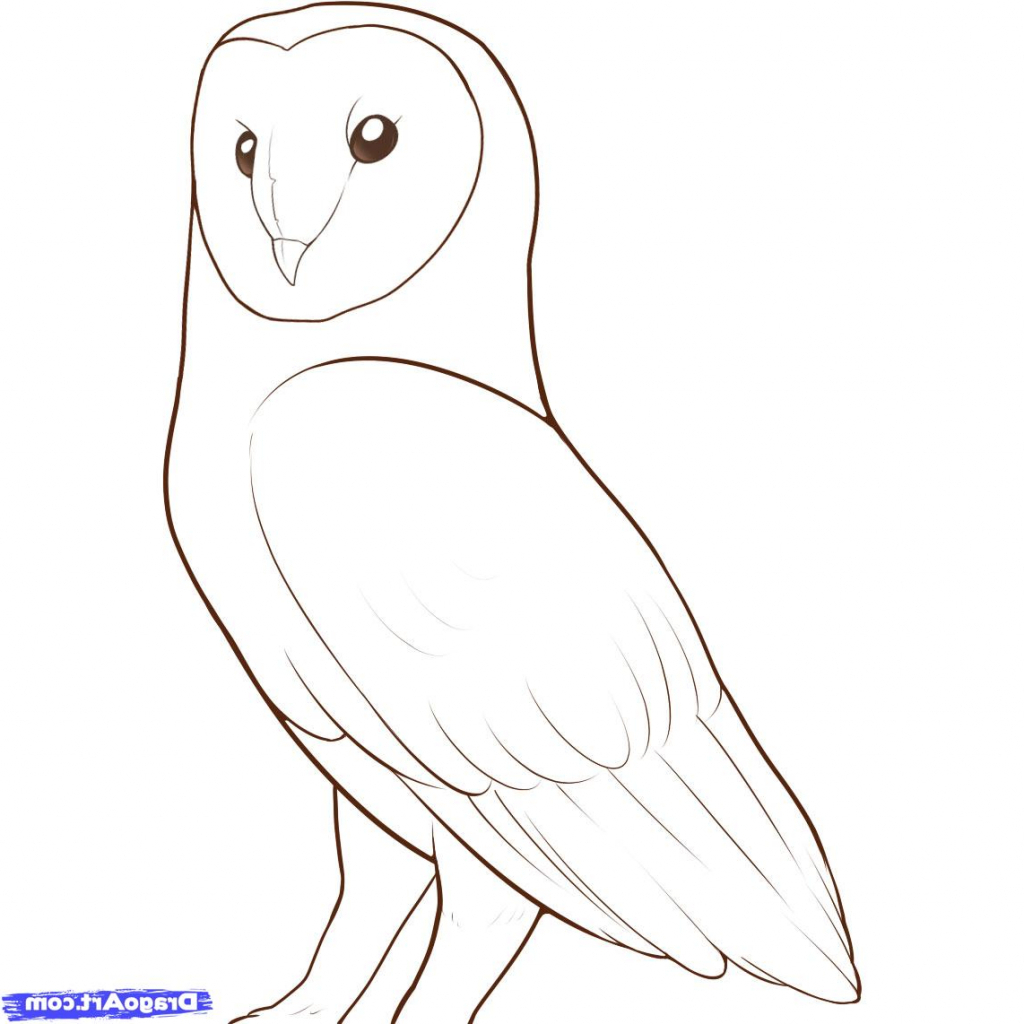
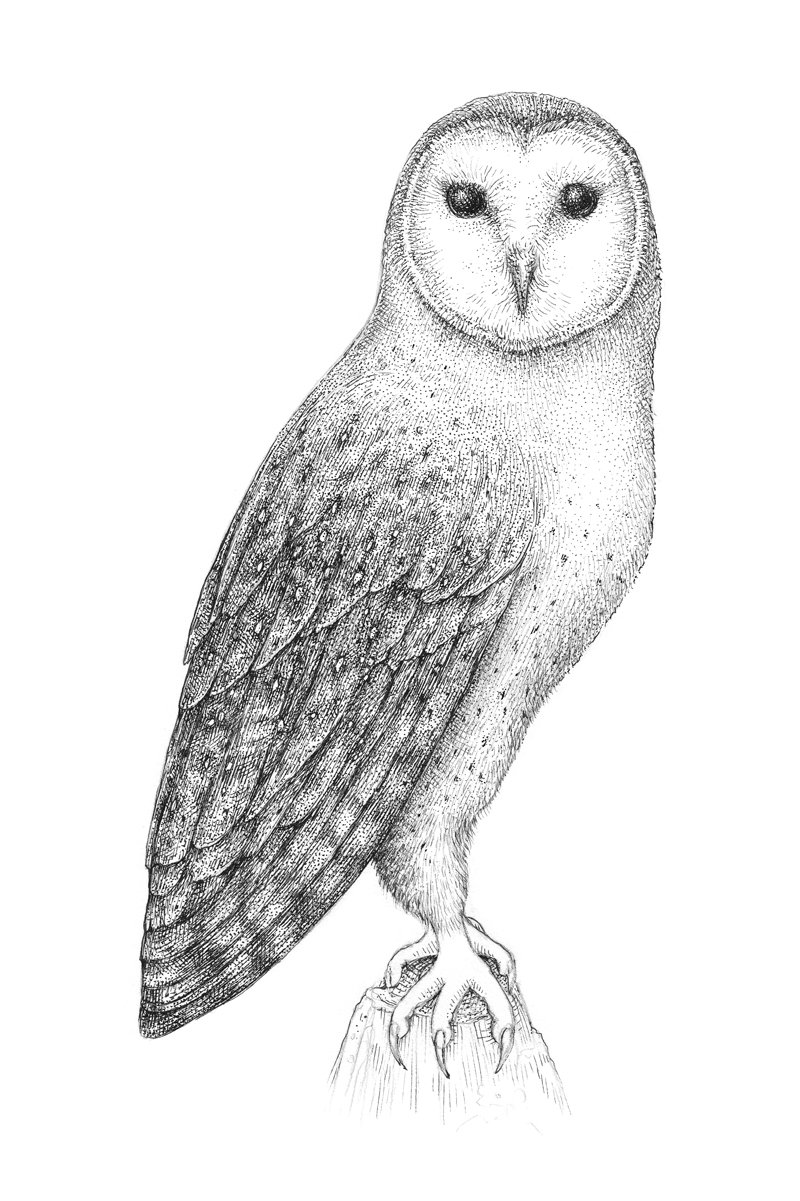
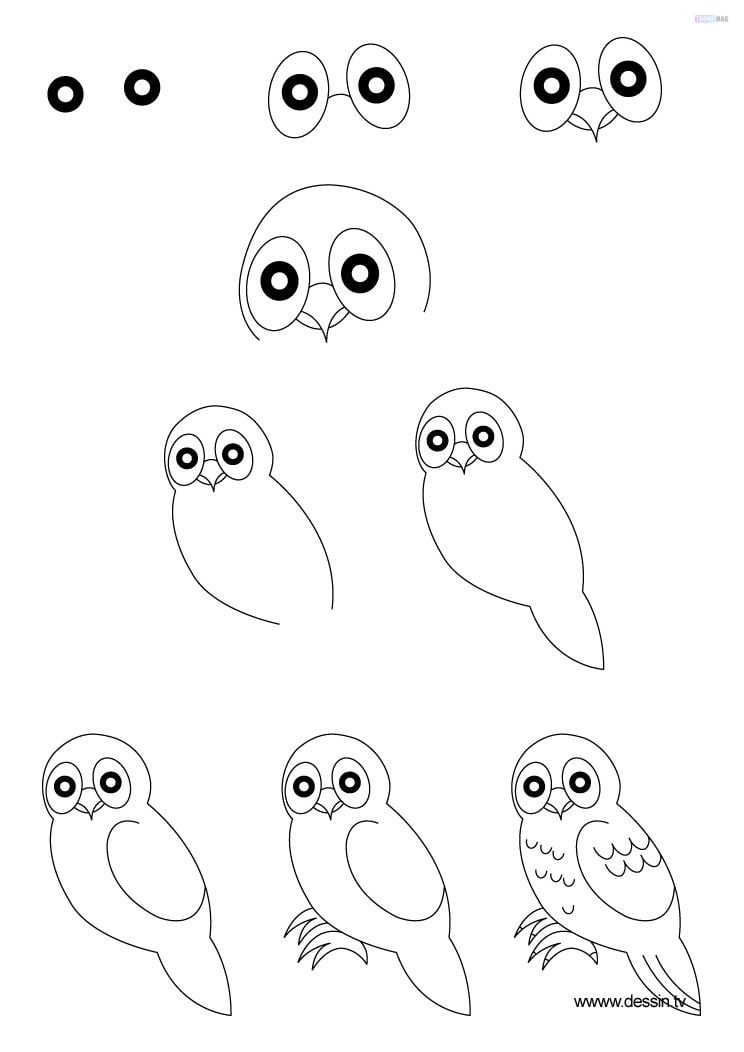
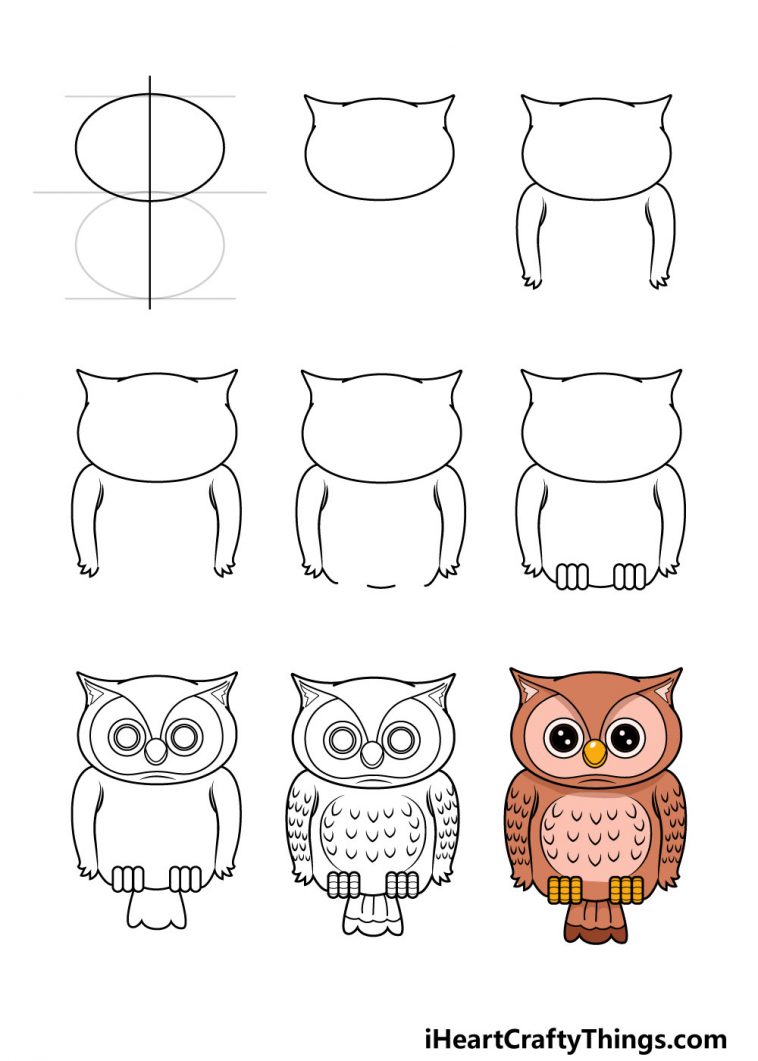
Draw An Owl Easy - Cute owl inspired by autumn wearing a scarf sit. Next, using the central vertical line and the bottom horizontal line, draw a ‘v’ shape to represent the owl’s beak. Draw two smaller circles inside the first set of circles. Web let's draw an owl step by step. Web how to draw a realistic owl. Add a curve line in the top left corners of each. Plan for this drawing to take about 30 minutes, but the drawing process can actually. Web draw two circles in the middle of the page. Draw in the final eye detail, tail, and a tree branch for your owl to sit on. This easy owl tutorial is perfect for fairly young kids looking to get started with drawing. The wing should widen the body a little, and overlap slightly toward the stomach. Draw the chin, beak, eyes, and ears. You can use whatever you feel comfortable drawing with. The body’s construction is a very simple step. Add two large circle eyes. If you’re looking to take your drawing to the next level, check out. Now that you’ve completed how to draw an owl, considering adding some shading or coloring to make your owl look realistic! Web step by step directions. Web draw two circles in the middle of the page. Use the lines at the bottom as a guide. You can use whatever you feel comfortable drawing with. Draw the eyes and beak. Next, using the central vertical line and the bottom horizontal line, draw a ‘v’ shape to represent the owl’s beak. Web learn how to draw a realistic owl! Web this time we are not only showing you one, but two easy how to draw an owl. Next, we’ll draw the ears. Owl drawing step by step (3 ways)! The wing should widen the body a little, and overlap slightly toward the stomach. Draw a pointy curved line for the talons at the end of each toe. You need the circles to be equally placed on either side of the central line. Learn #howtodraw a cartoon owl and fall leaves easy, step by step drawing tutorial. Plan for this drawing to take about 30 minutes, but the drawing process can actually. Now, let’s begin with our owl drawings. Cute owl inspired by autumn wearing a scarf sit. Drawing the body of your owl will include creating an outline for the top of. The wing should widen the body a little, and overlap slightly toward the stomach. Use the guidelines on the head to make your lines symmetrical. This easy owl tutorial is perfect for fairly young kids looking to get started with drawing. Learn how to draw an owl with this free printable drawing lesson activity page. If you are painting the. Use the picture below as a guide to shade or color your owl drawing. Draw two smaller circles inside the first set of circles. These lines are parallel to the contours of the torso from the second step. I really hope this is helpful in some way. To make the toes, thicken all remaining lines at the bottom. Web this time we are not only showing you one, but two easy how to draw an owl step by step tutorials. Web follow along as i color in the cover art of my groovy owls coloring book using very affordable art supplies (sharpies and crayola colored pencils). As with all our drawing tutorials, we will always guide you with. If you’re looking to take your drawing to the next level, check out. As with all our drawing tutorials, we will always guide you with the use of construction lines and shapes. Draw two curved lines that start at the beak and extend past the top of the head. Draw the eyes and beak. Next, we’ll draw the ears. I really hope this is helpful in some way. Add more details to the owl’s head. Drawing the body of your owl will include creating an outline for the top of your owl’s head, two pointed ears, and a round body. This easy owl tutorial is perfect for fairly young kids looking to get started with drawing. Add two large. Place three rounded elongated shapes on each side as in my reference. You can use whatever you feel comfortable drawing with. To make the toes, thicken all remaining lines at the bottom. Web beginners will benefit from this simple step by step lesson for learning how to draw an owl. Sketch the details of the owl’s head. Add two simple ears and wings. Draw an upside down triangle that starts at the middle of the circle, and ends at the bottom of the head shape. Bring the tip of the owl’s wing just a little below the side of the owl’s body. The wing should widen the body a little, and overlap slightly toward the stomach. Curve in the same direction that the owl’s body already goes in, rather than in the opposite direction. Draw a nose and cheek lines. These must be drawn using a 4h to 6h pencil, because they need to be light and easily erased. Next add the “horns” on the top of the head (really these are just feathers) with a bump like curve between them. These lines are parallel to the contours of the torso from the second step. Add more details to the owl’s head. You need the circles to be equally placed on either side of the central line.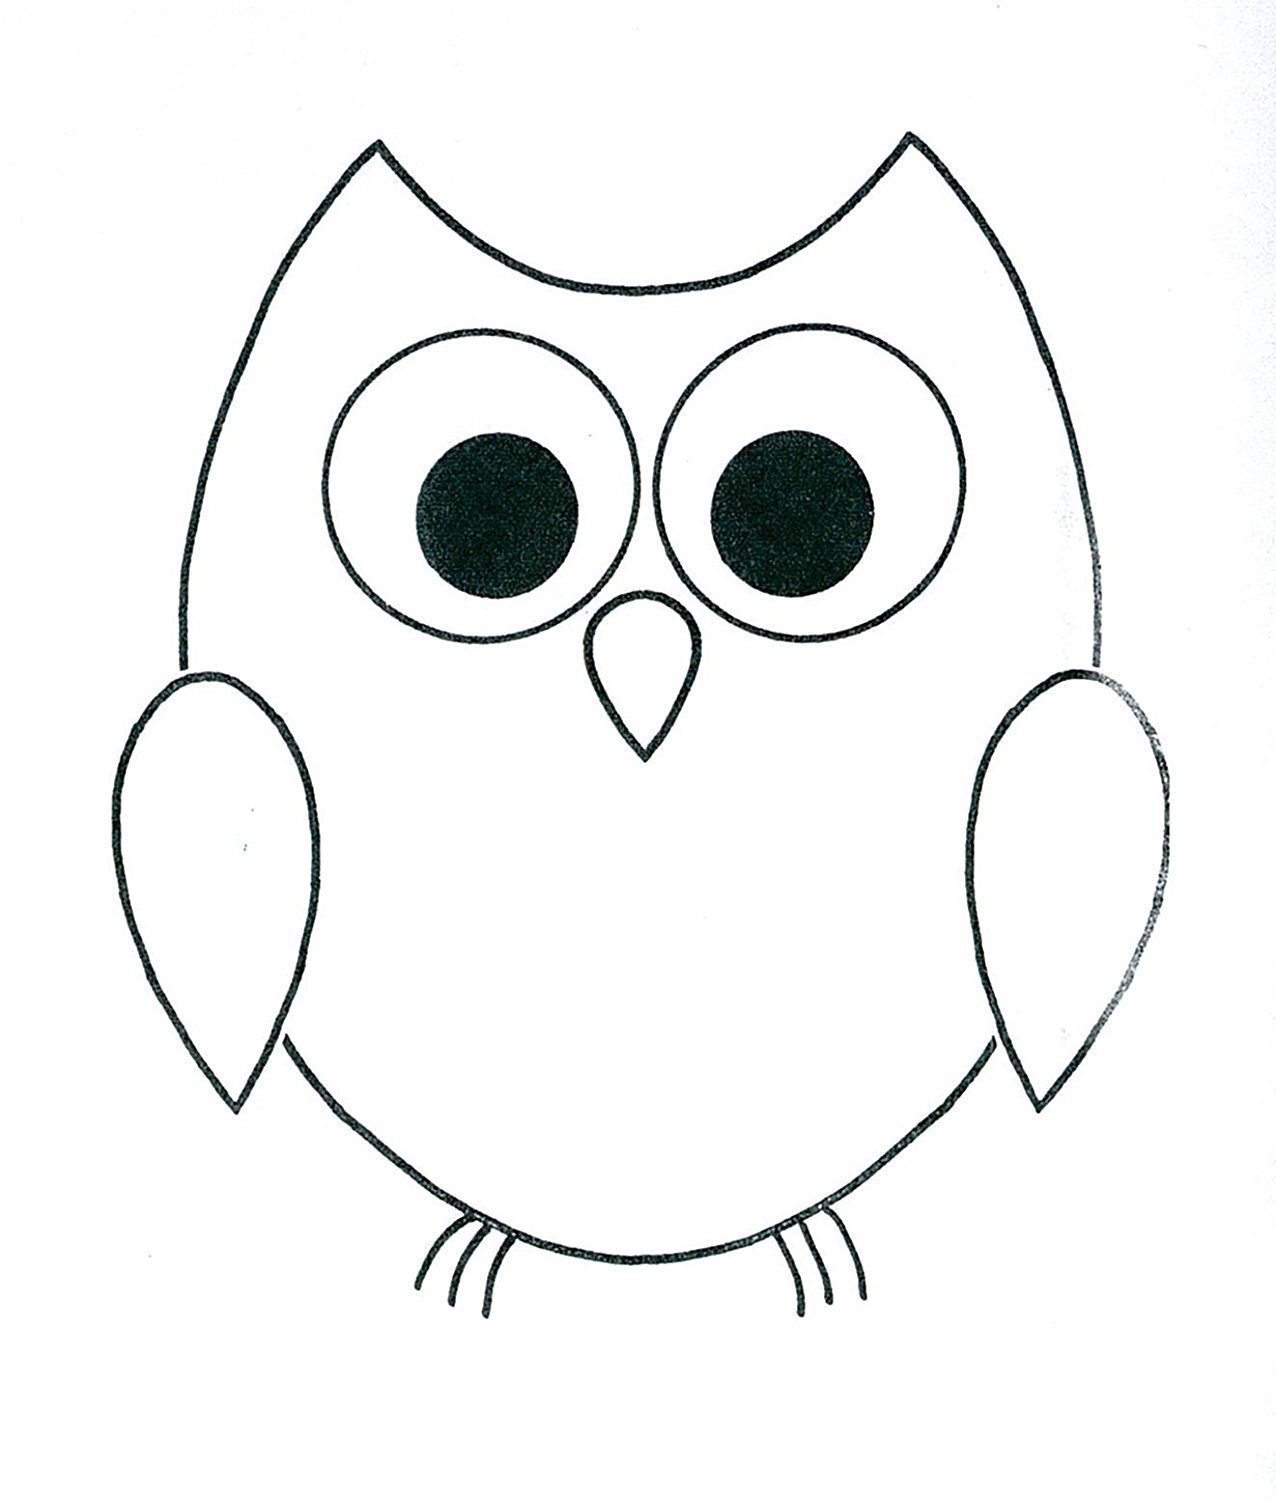
Owl Drawing Easy at Explore collection of Owl
How To Draw An Owl Step By Step Easy Drawing Tutorial For
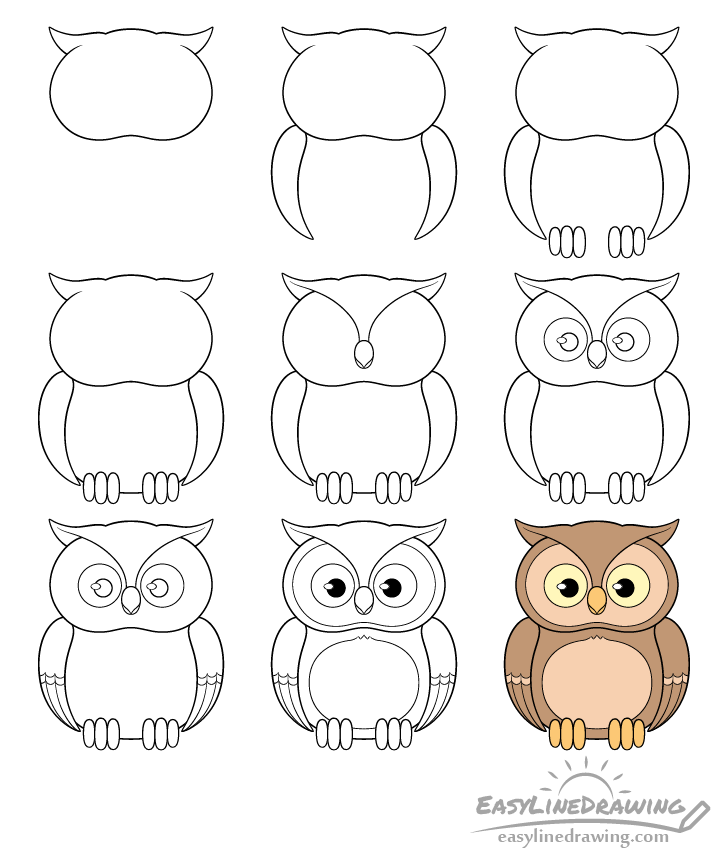
How to Draw an Owl Step by Step EasyLineDrawing
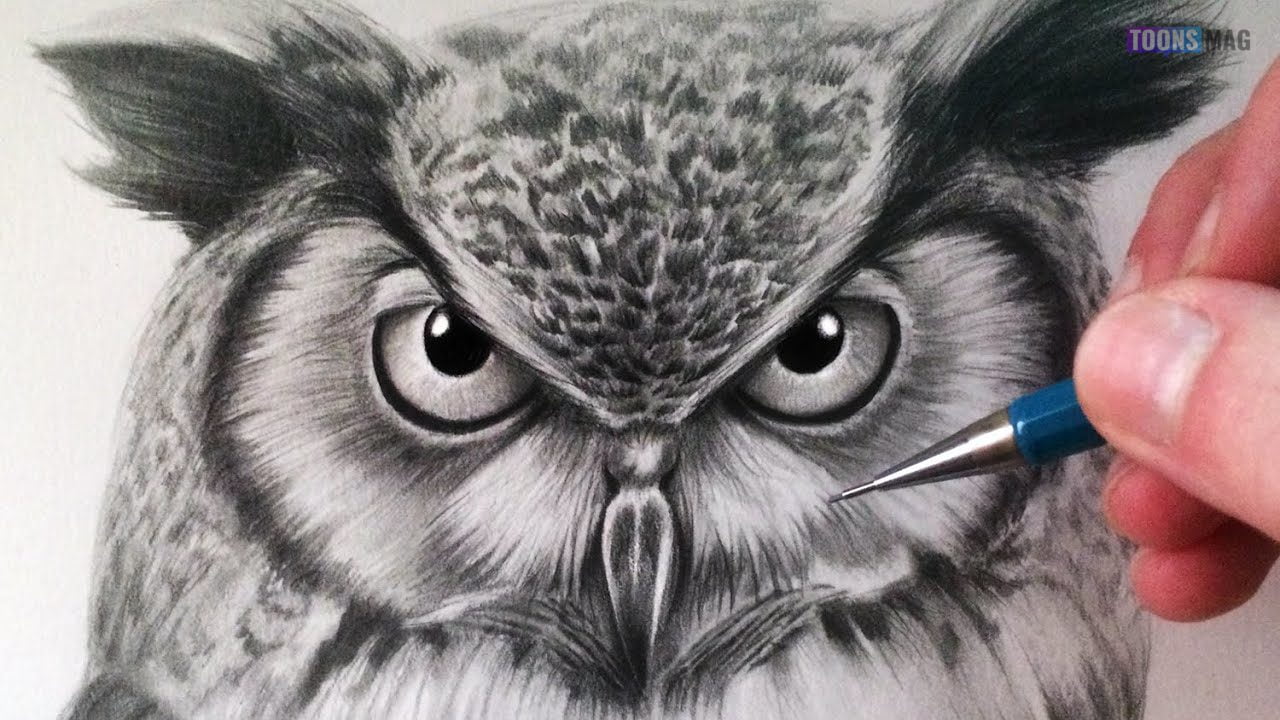
How To Draw An Owl Easy Tutorial Toons Mag
Easy Owl Drawing Step By Step at Explore
How to Draw an Owl with Pen and Ink
How To Draw An Owl Easy Tutorial Toons Mag

How to Draw An Owl

How to Draw an Easy Owl · Art Projects for Kids
Owl Drawing How To Draw An Owl Step By Step!
Web Let's Draw An Owl Step By Step.
Use The Lines At The Bottom As A Guide.
Use Quick, Short Strokes For The Feathers.
Use The Guidelines On The Head To Make Your Lines Symmetrical.
Related Post: