Drawings Of Apples
Drawings Of Apples - Learning about shadows with your red apple. Web apples are a common subject in the art world, making originality a significant challenge. Web make the indent come up about a quarter of the way up the oval or less. Draw 2 overlapping ovals 2. Web the newest ipad ad depicts instruments, books and art supplies flattened into apple's thinnest product ever. Realistic apple drawing by pencil for beginners. Illustration of fruits on branches with leaves. This shape should sit slightly to the left of the center of your base circle, and the top should be blank. This means that the darker area will be on it’s right side. Draw the outline of your apple 3. Web apple’s chief executive called tuesday “the biggest day for ipad since its introduction,” in 2010. Complete the drawing of an apple. That means that your shadows on a red surface may look more purple; This encloses the apple's leaf. If you want to show kids an easy tutorial for drawing an apple, you have come to the right place. This encloses the apple's leaf. This means that the darker area will be on it’s right side. The practicality isn't the point. Draw the outline of your apple 3. Learning about shadows with your red apple. In eight uncomplicated steps, this apple will be ready—to be snacked or cooked. If you need to draw an apple with paints or colored pencils, then the amount is achieved using different shades of the primary color. Web drawing apples can be a difficult task when you first get started. Once done you can begin shading. Add some shadow around. It's very simple art tutorial for beginners, only follow me step by step, if you need more time, you can. Next, use a yellow crayon to color the inside of the apple. Draw 2 overlapping ovals 2. I refine the relief of the central part of the. Web the newest ipad ad depicts instruments, books and art supplies flattened into. This means that the darker area will be on it’s right side. Web apple is facing backlash for an ipad ad showing analog art tools getting crushed. First, draw another small, rounded section next to the previous one that you drew earlier. There is no need to make the shapes identical; Learning about shadows with your red apple. There is no need to make the shapes identical; First, use a brown crayon to fill in the stem. Learning about shadows with your red apple. That means that your shadows on a red surface may look more purple; Sketch 2 narrow parallel lines to make a short stem. Draw one thick side and one side that is light and. It apologized for the ad thursday, and ad age reported apple wouldn't run the ad on tv as planned. This means that the darker area will be on it’s right side. Web how to draw an apple with pencil. In addition to its thinness, cook touted its new custom. Web use a combination of curved lines and wavy lines to draw an outline. Use a dark green crayon to shade the leaf. Let’s complete the drawing of our juicy, green apple! This means that the darker area will be on it’s right side. Shade the darker areas of the apple with an hb pencil. Further refine the line drawing by adding more smaller details. Next, use a yellow crayon to color the inside of the apple. If you need to draw an apple with paints or colored pencils, then the amount is achieved using different shades of the primary color. Web how to draw an apple with pencil. I refine the relief of the. The company has lived long enough to see itself become the villain. Web how to draw an apple with pencil. The key is to infuse personal style and innovative perspectives into each apple illustration. Add some texture and highlights near the apple stem with light strokes. There is no need to make the shapes identical; One of the first things you learn in an art class is to add cool colors for shading, and warm colors for highlights. In addition, use the reference images throughout the blog post. First, use a brown crayon to fill in the stem. Once done you can begin shading. Add some shadow around the. Draw the outline of your apple 3. There is no need to make the shapes identical; Add some texture and highlights near the apple stem with light strokes. First, draw another small, rounded section next to the previous one that you drew earlier. More details will be added to the shape later on. Before you start drawing the apple realistically, you start by drawing a large circular shape. Using the two ovals that you drew in the previous step, carefully draw in the outline as it appears in the reference picture we have in this guide. From the stem, extend two curved lines, allowing the lines to meet in a sharp point. That means that your shadows on a red surface may look more purple; This shape will represent the indent of the apple where the stem and leaf will extend from. Web make the indent come up about a quarter of the way up the oval or less.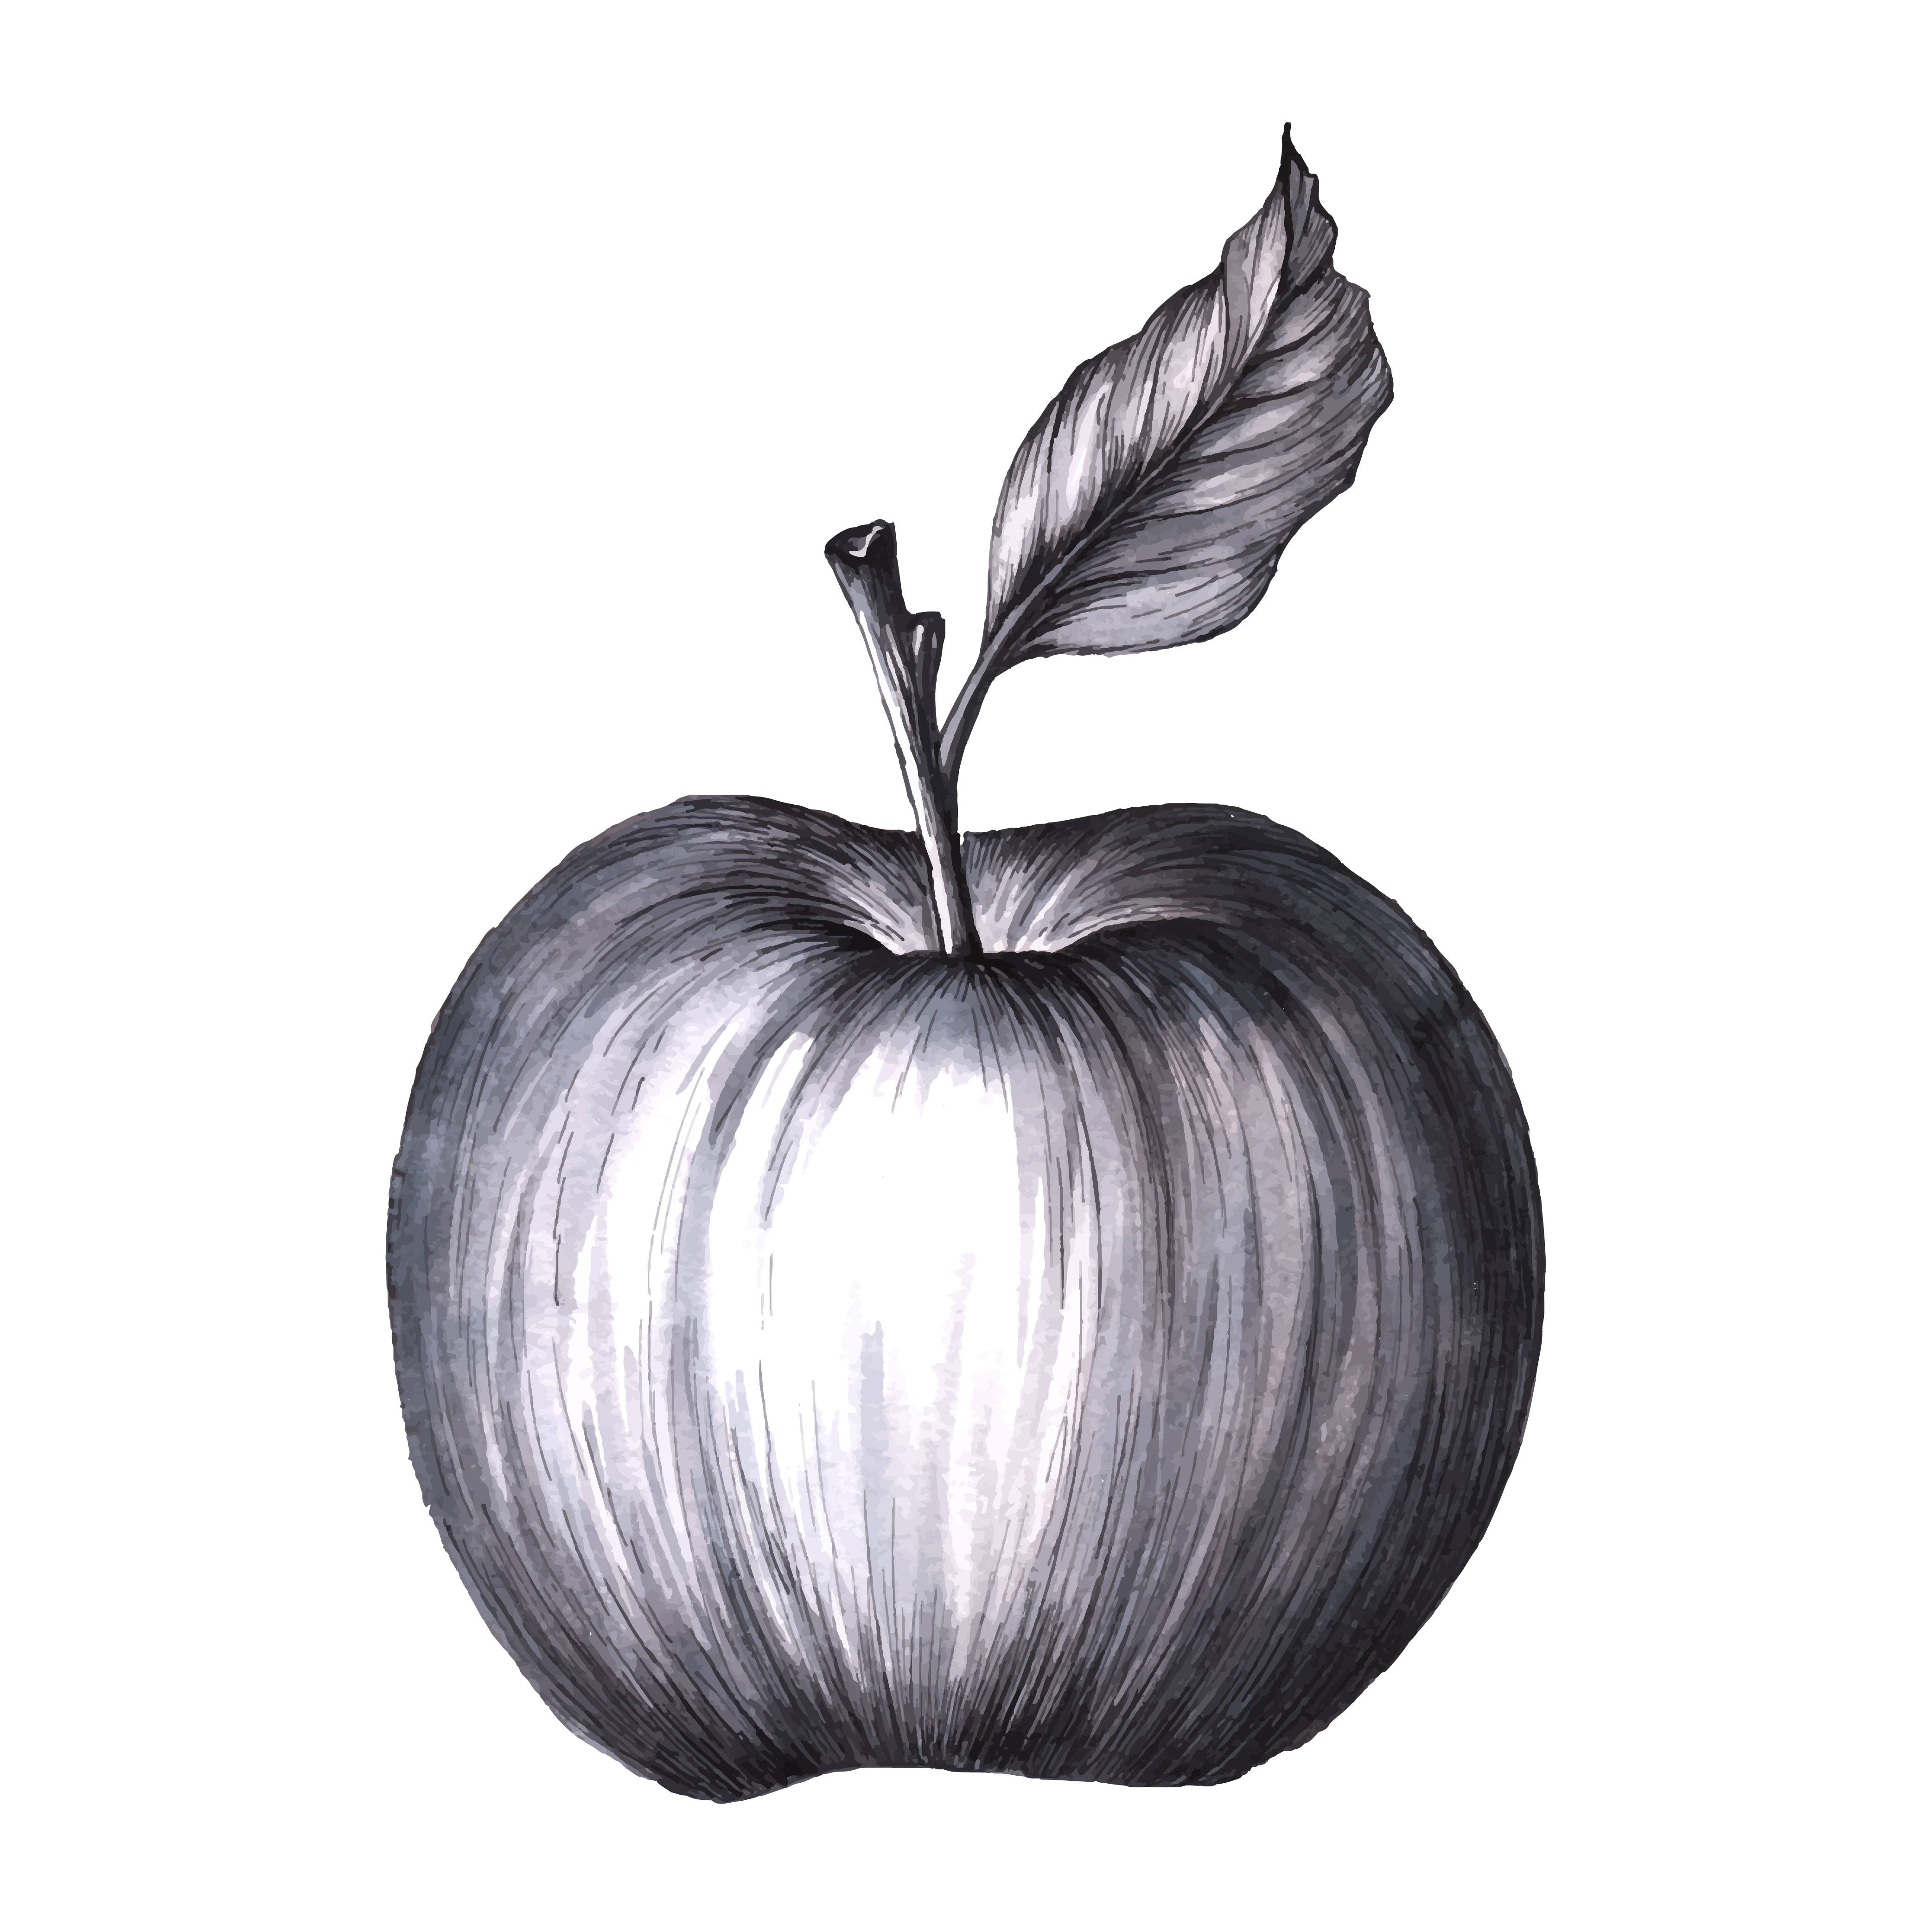
Apple Sketch Vector Art, Icons, and Graphics for Free Download
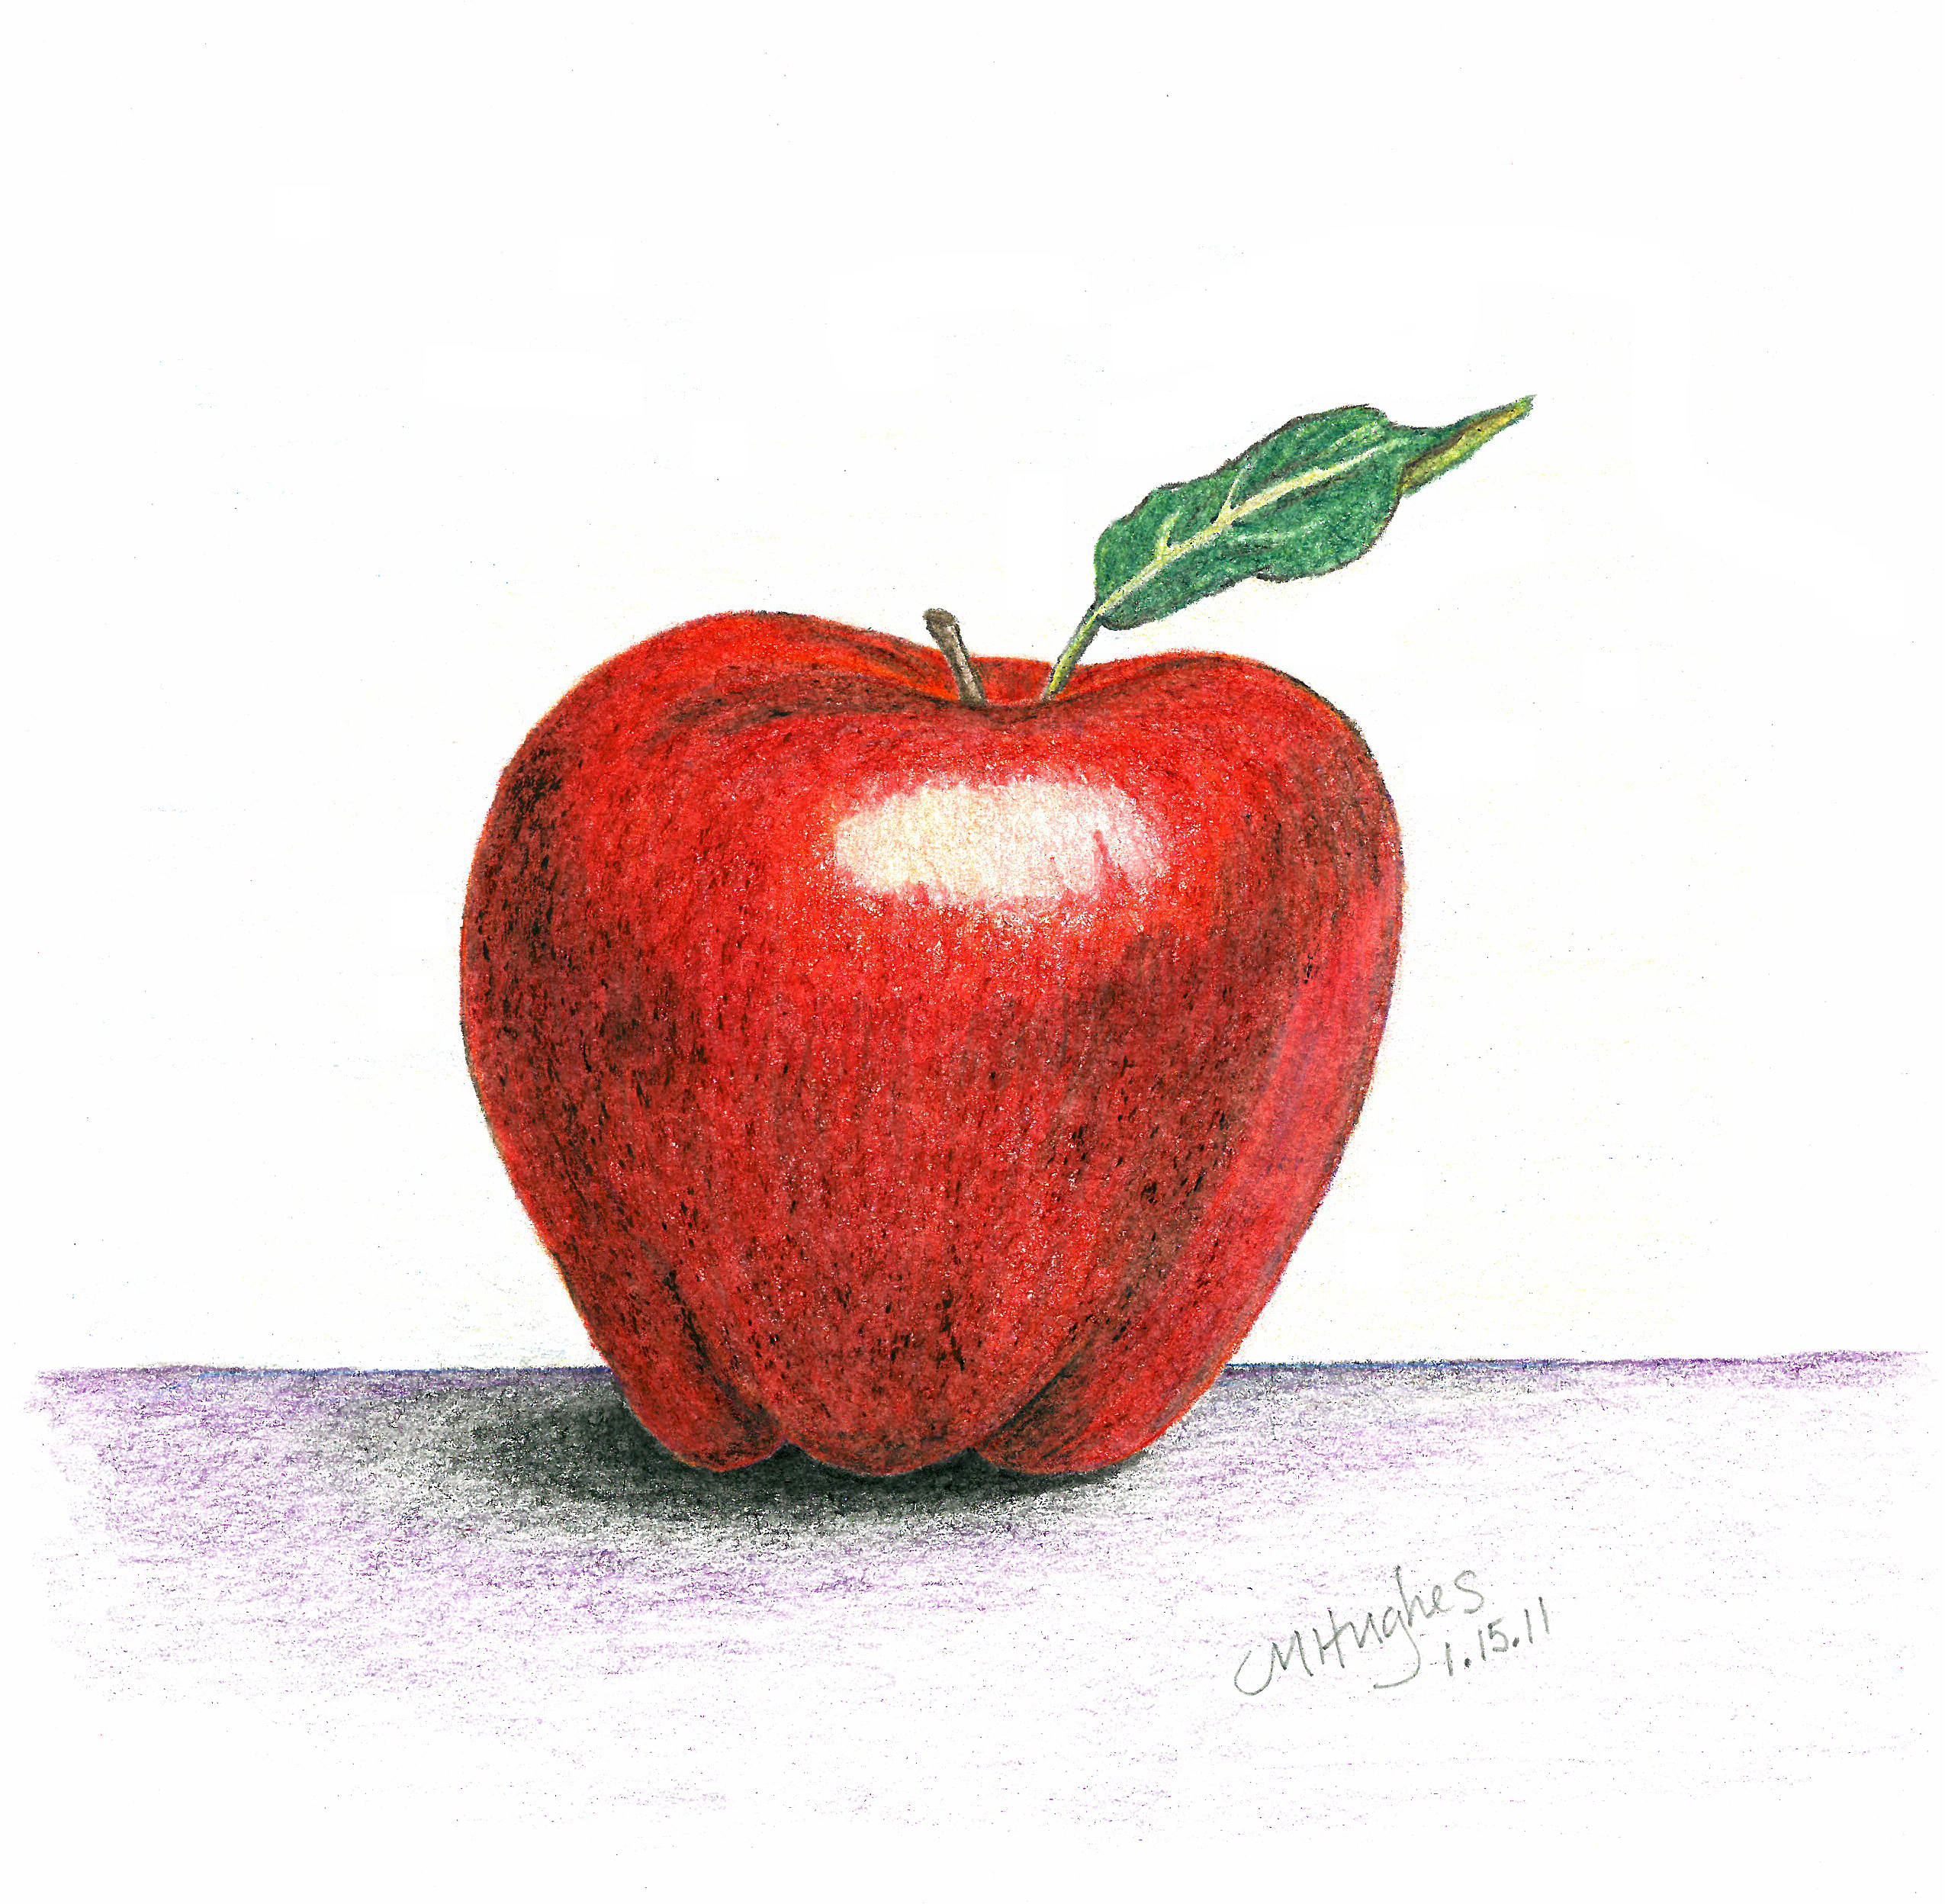
Color Pencil Drawing Apple pencildrawing2019
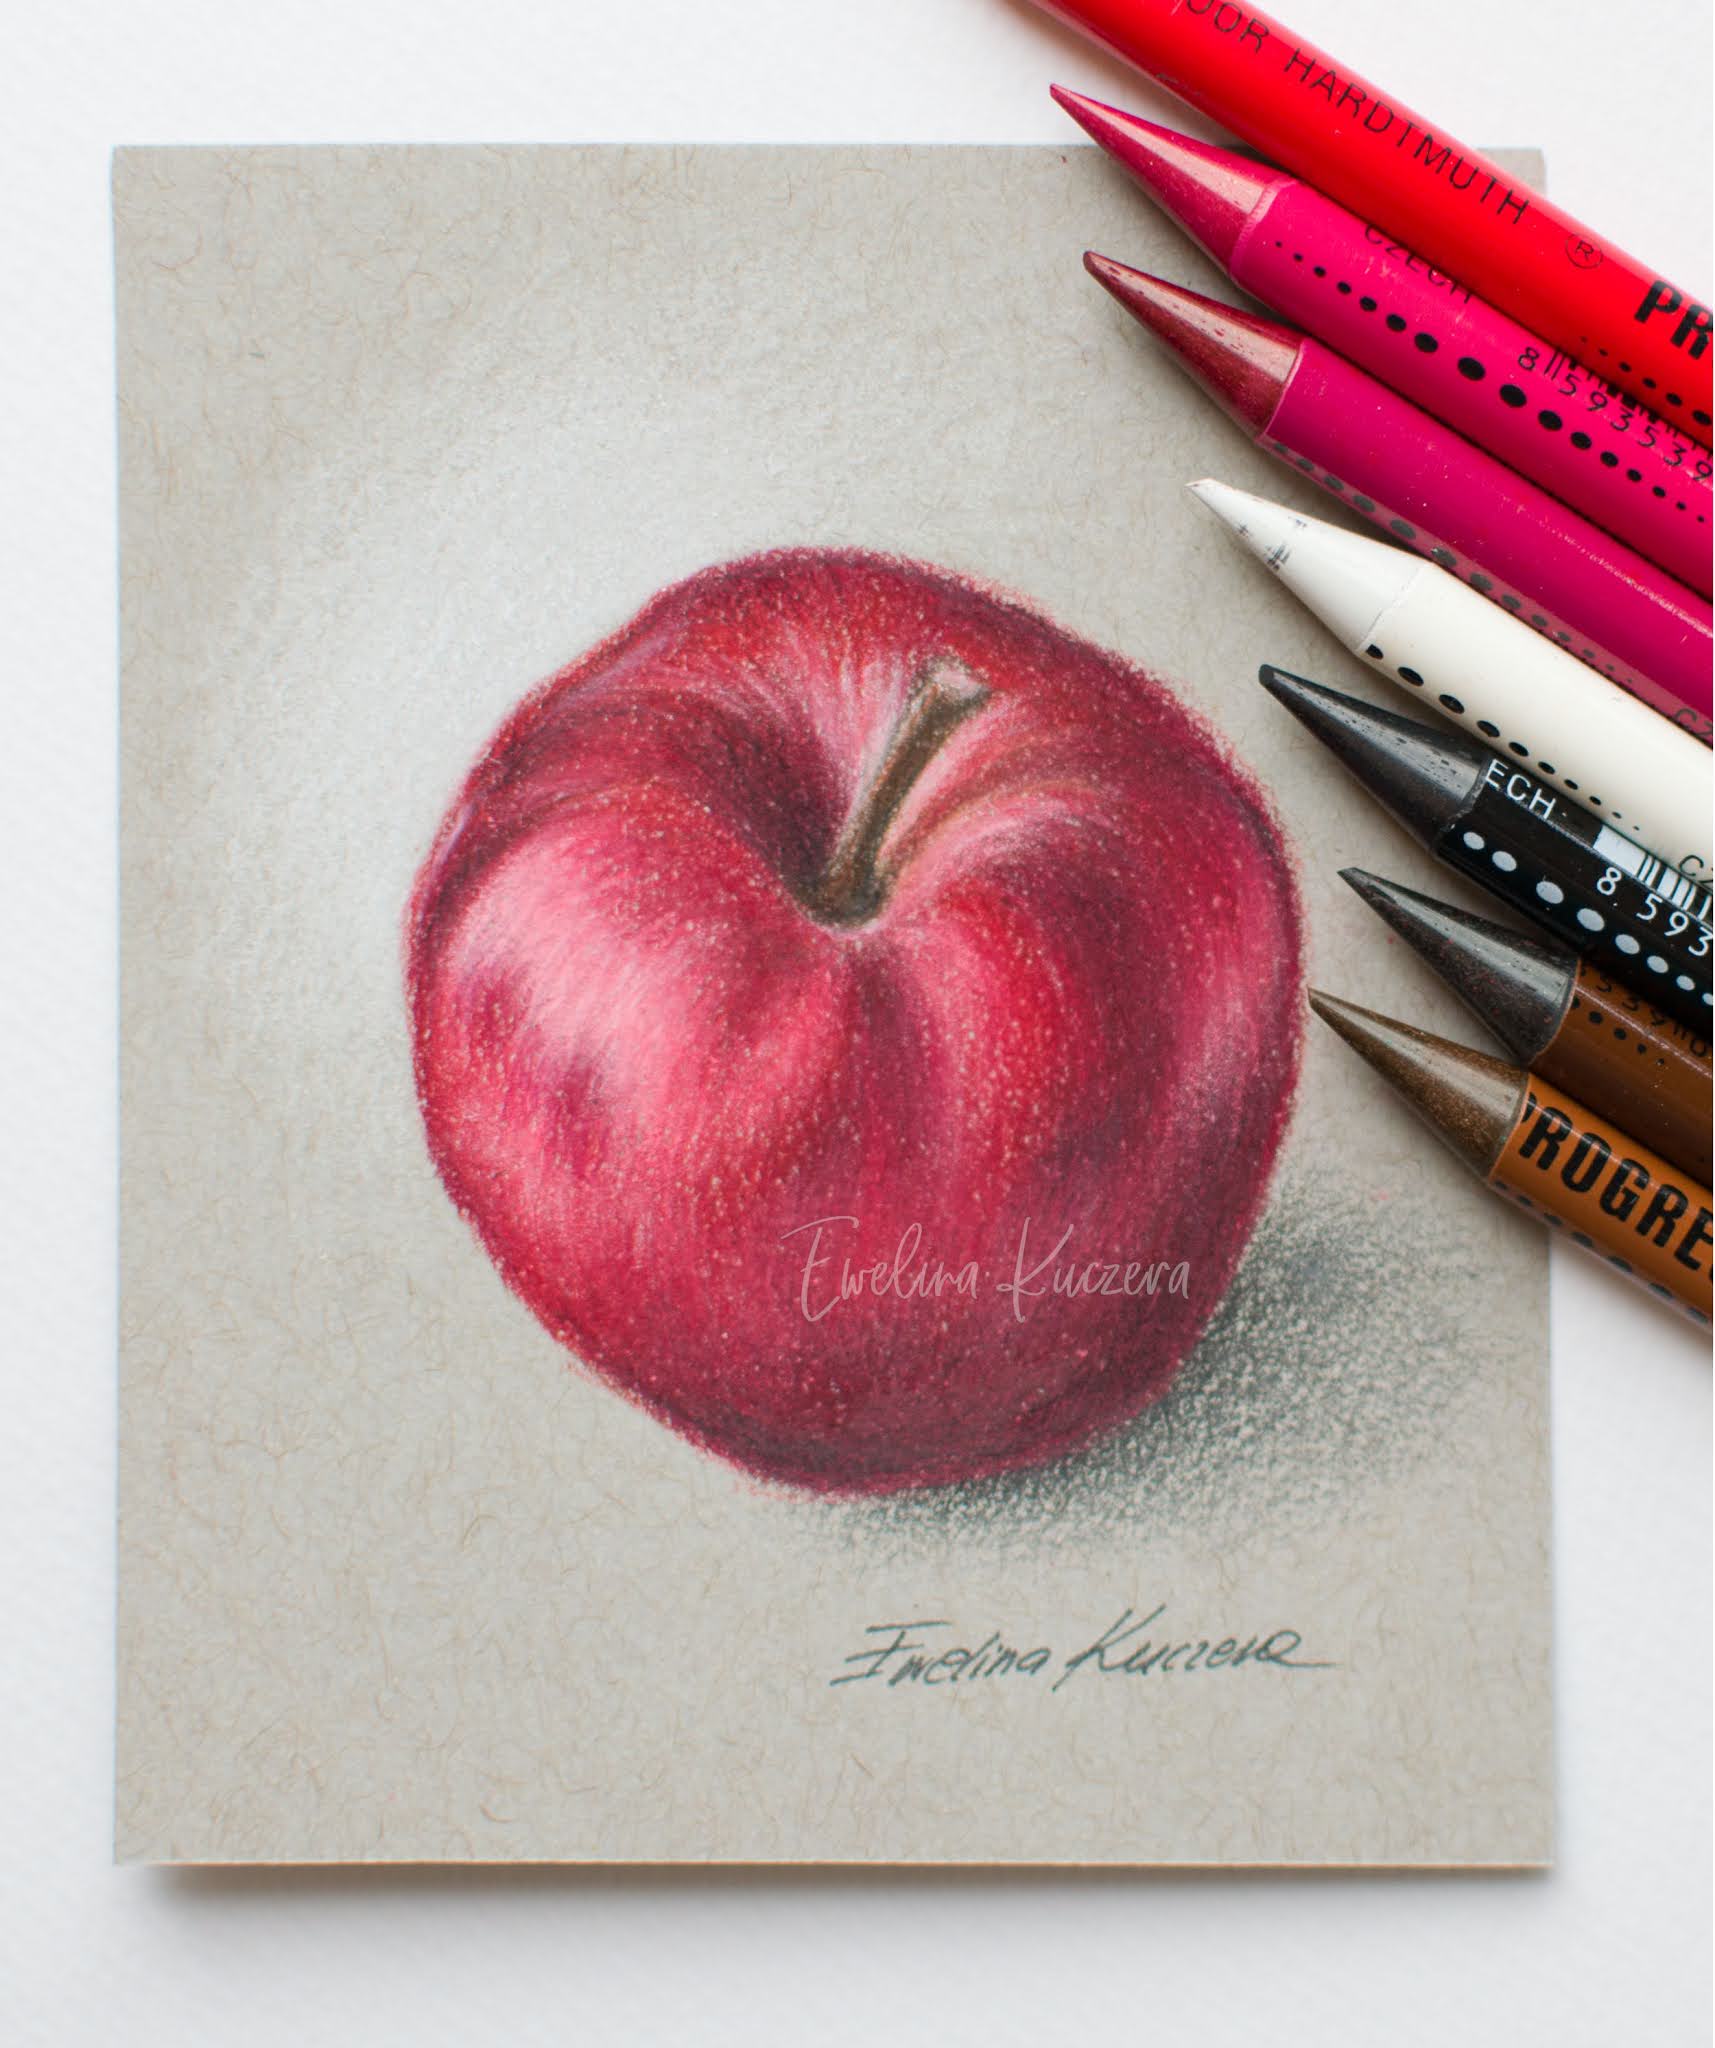
How to Draw a Juicy Apple using Coloured Pencil
How to draw an apple with colored pencils step by step tutorial

How to Draw an Apple HelloArtsy
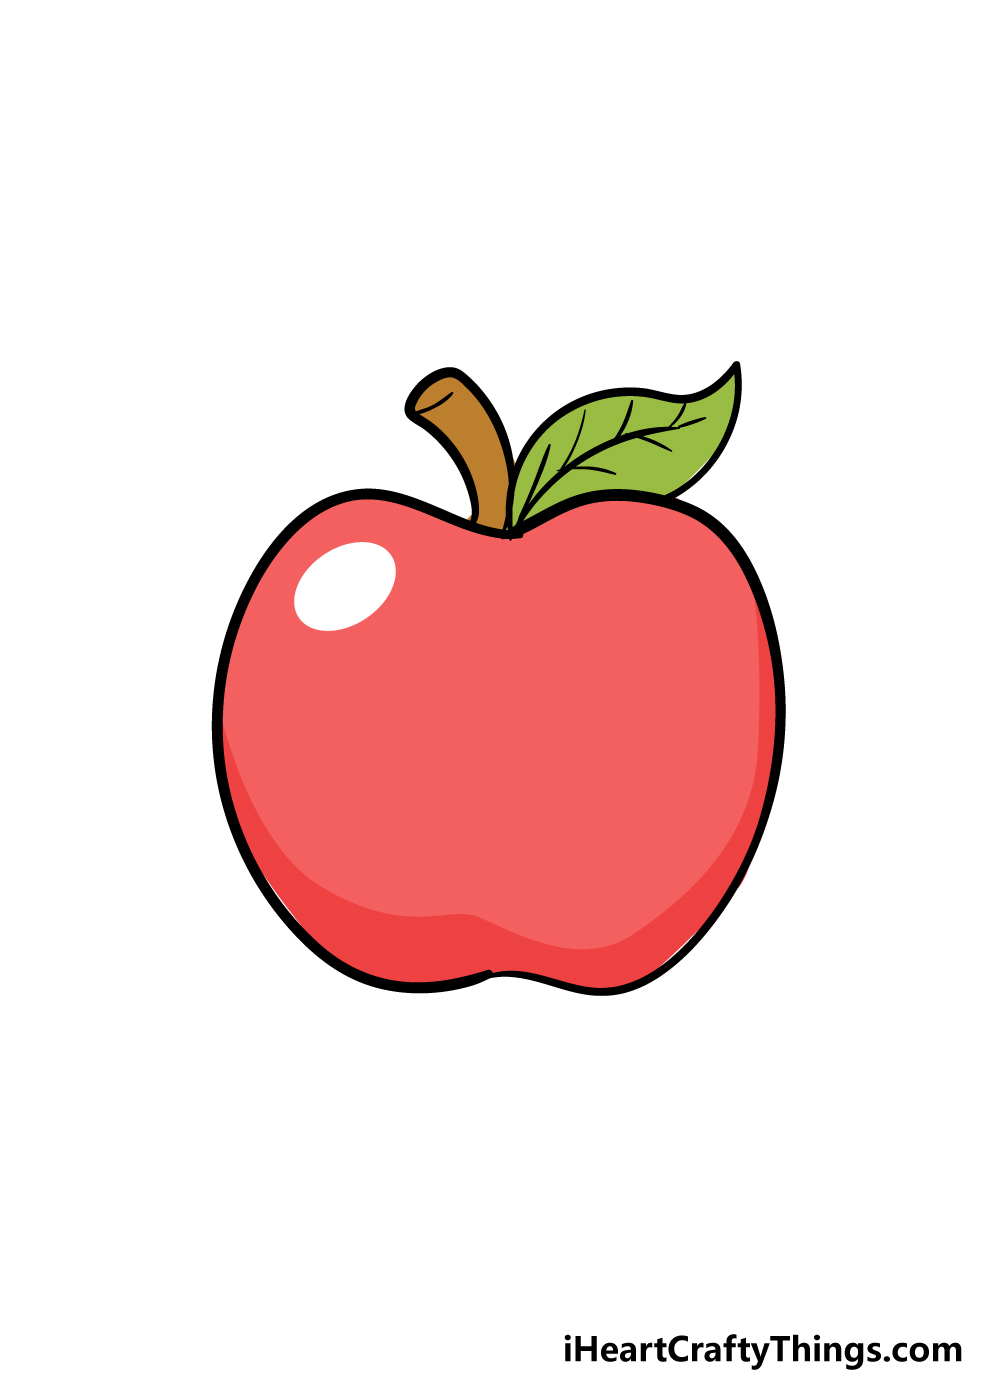
Apple Drawing How To Draw An Apple Step By Step
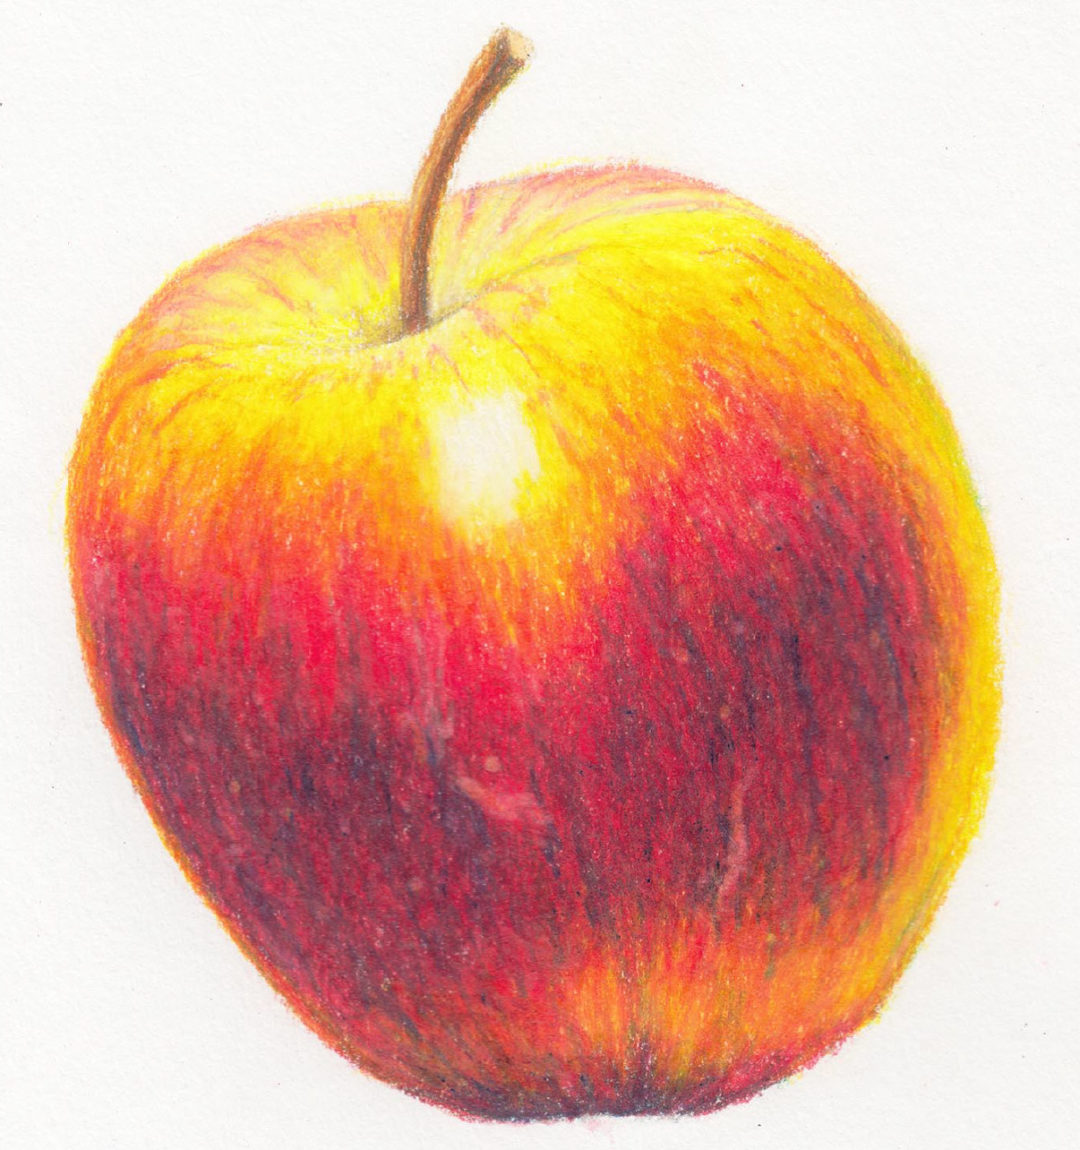
How to Draw a Juicy Apple using Coloured Pencil
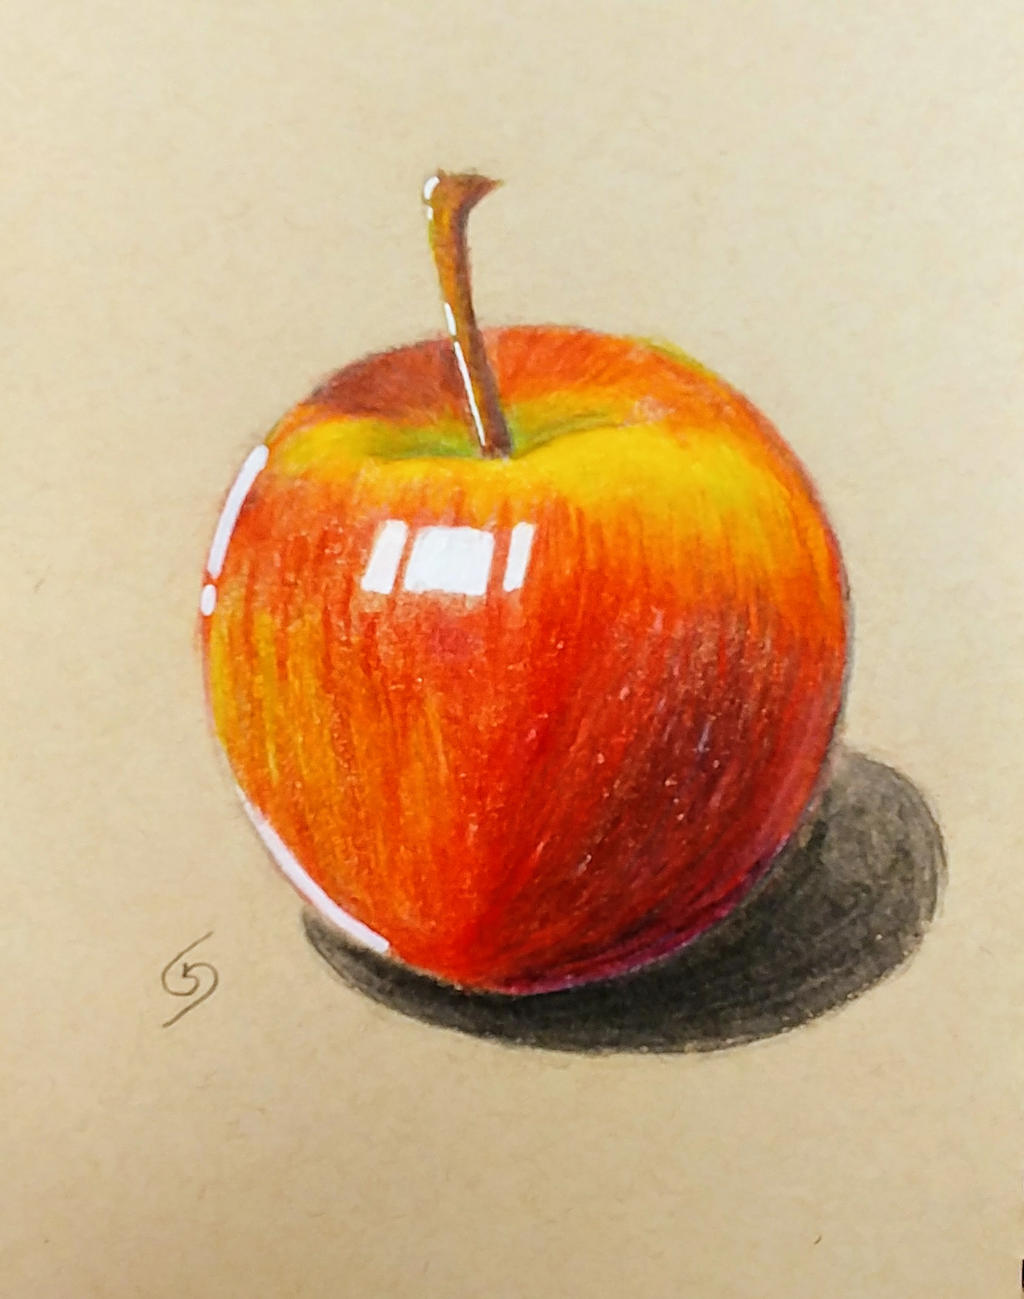
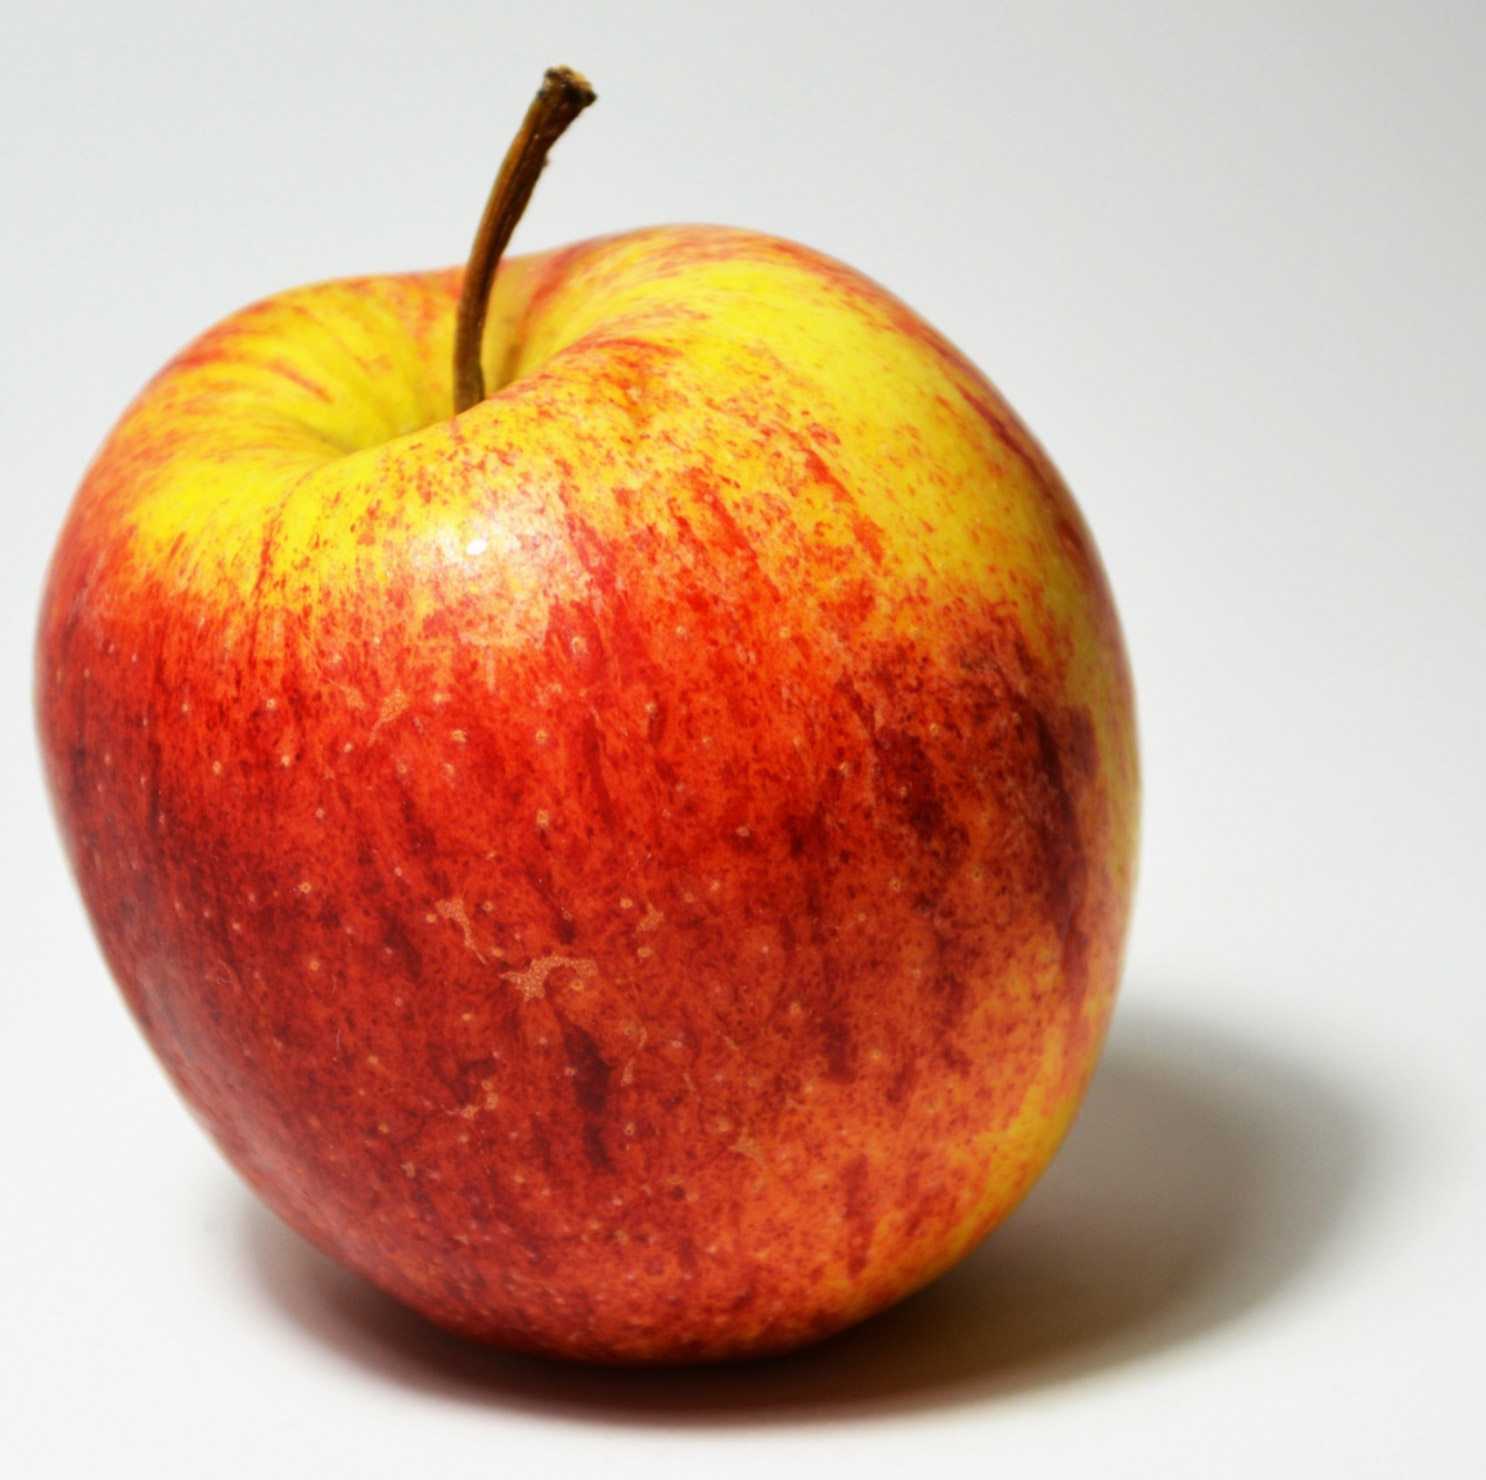
Realistic Apple Drawing by on DeviantArt

How to Draw a Juicy Apple using Coloured Pencil

Hand drawn apple fruit illustration Download Free Vectors, Clipart
For This Part Of Your Apple Drawing, You Will Start To Draw The Outline Of Your Apple.
Web Why Everyone’s Mad At Apple’s New Ipad Ad.
This Means That The Darker Area Will Be On It’s Right Side.
Draw A Short Horizontal Line Near The Top Of The Apple And Make The Ends Curve Up Like A Smile.
Related Post: